No-Bake Peppermint Oreo Bars
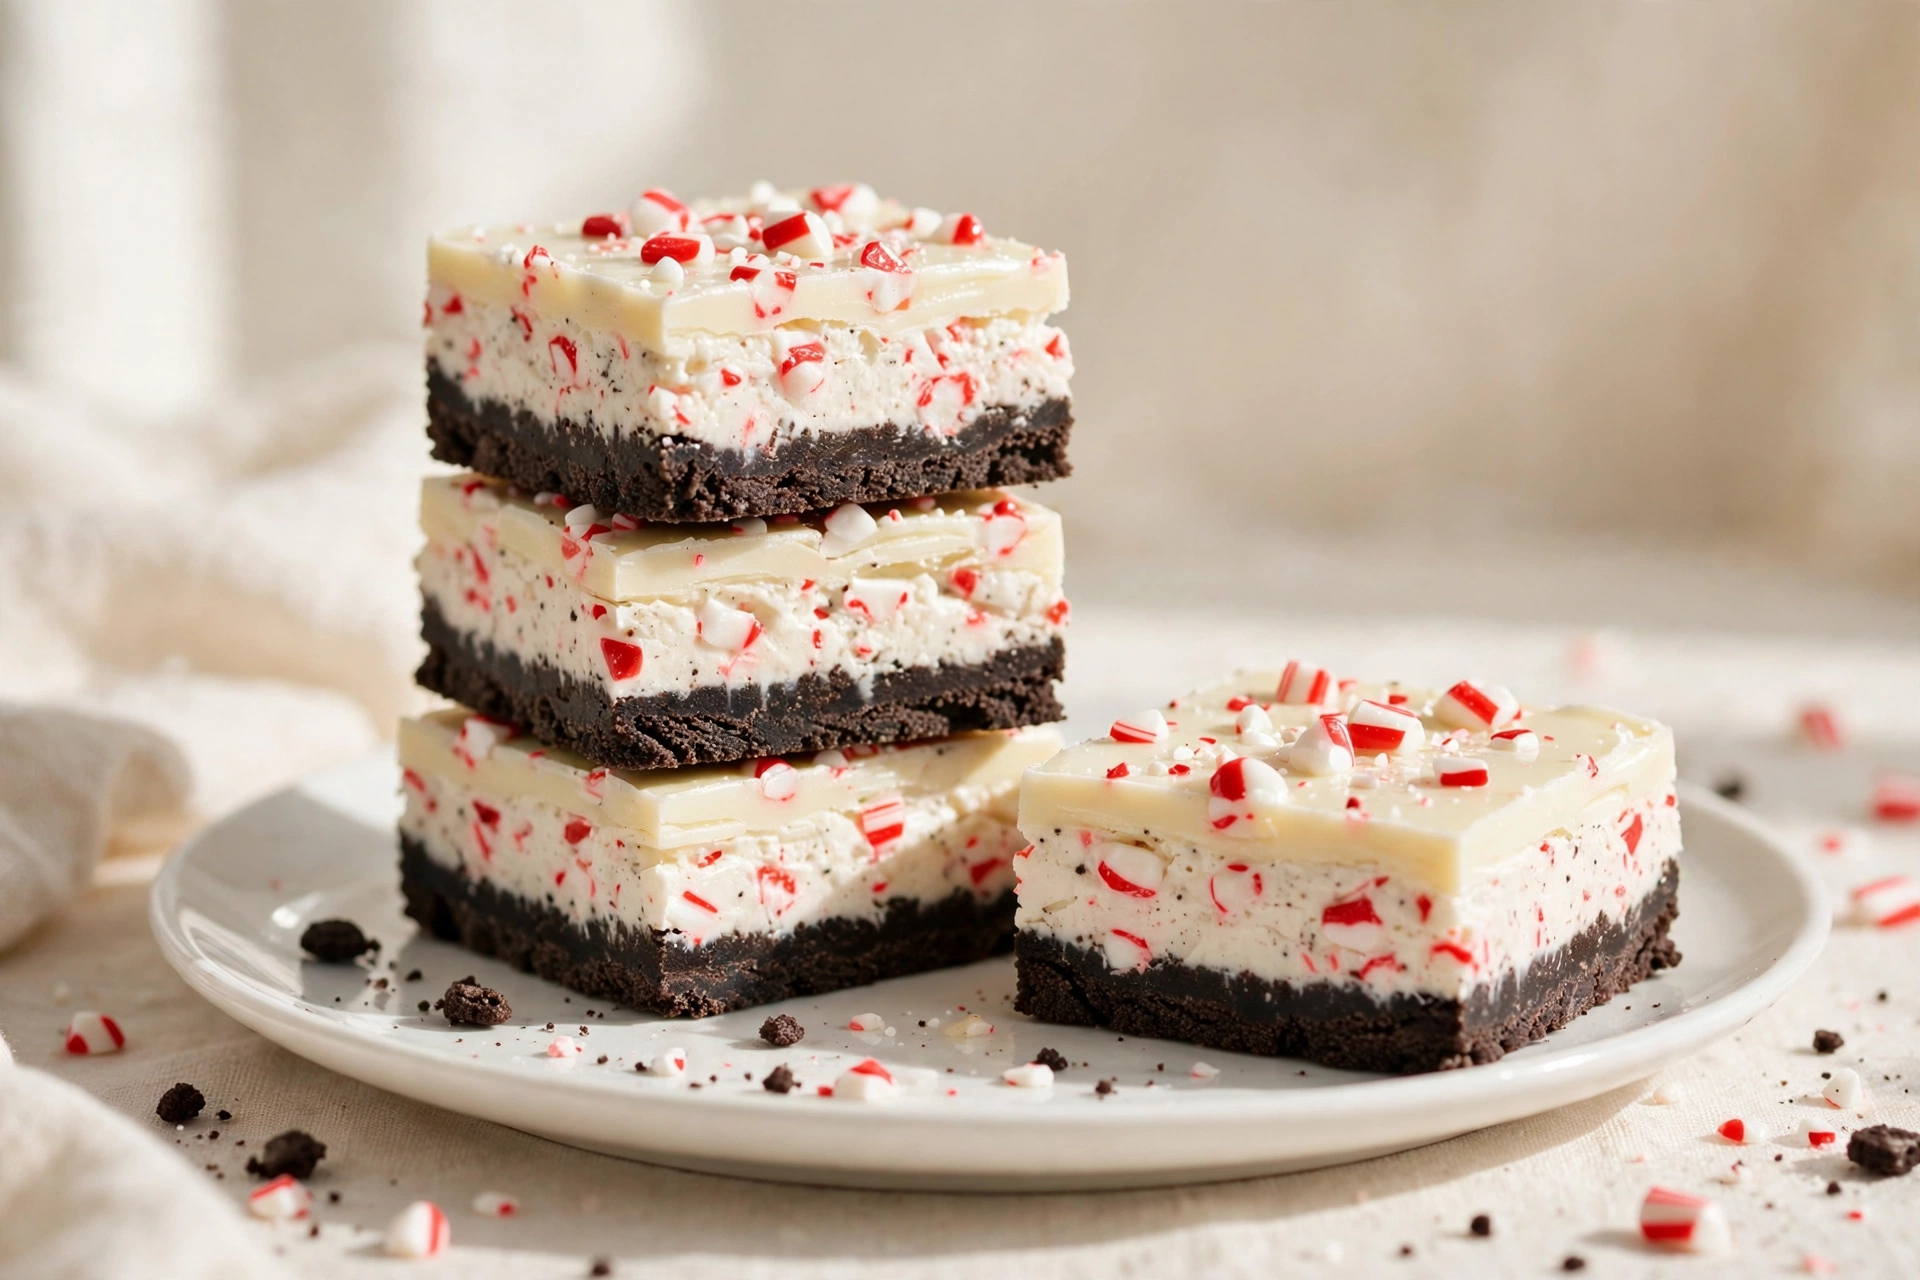
Some holiday desserts demand your whole afternoon. These peppermint Oreo bars demand about 20 minutes and zero oven time — and they taste like you planned for days. A buttery Oreo crust, a cool peppermint-cream filling, and a white chocolate topping studded with crushed candy canes.
The peppermint filling is cool and creamy rather than overpowering, and the white chocolate top adds richness. Serve them straight from the fridge when they're at their firmest and most refreshing. They're a perfect holiday party dessert — make them the night before, cut into small squares, and watch them vanish.
Stack on a festive platter with hot cocoa for a holiday movie night, or wrap individually for cookie exchanges. Keep them refrigerated until serving so the layers stay crisp and clean.
Why You'll Love This Recipe
- No oven required — perfect when the oven is already busy with holiday cooking
- Only 20 minutes of hands-on time — the fridge does all the real work
- Festive and beautiful — crushed candy canes on white chocolate look instantly holiday-ready
- Make-ahead hero — needs at least 4 hours to chill, so it's designed to be made the night before
- Kid-approved flavor — cookies, peppermint, and white chocolate are a combination kids tend to love

Ingredients
For the crust:
- 24 Oreo cookies (about 1 standard package sleeve), finely crushed
- 5 tablespoons unsalted butter, melted
For the peppermint filling:
- 8 ounces cream cheese, softened
- 1/2 cup powdered sugar
- 1/2 teaspoon peppermint extract (not mint extract)
- 1 1/2 cups whipped topping (like Cool Whip), thawed — or 1 1/2 cups heavy cream, whipped to soft peaks
- 1/4 cup finely crushed candy canes
For the topping:
- 6 ounces white chocolate chips or chopped white chocolate
- 2 tablespoons heavy cream
- 1/4 cup crushed candy canes, for sprinkling
Instructions
- Line an 8×8-inch pan with parchment paper, leaving an overhang on two sides.
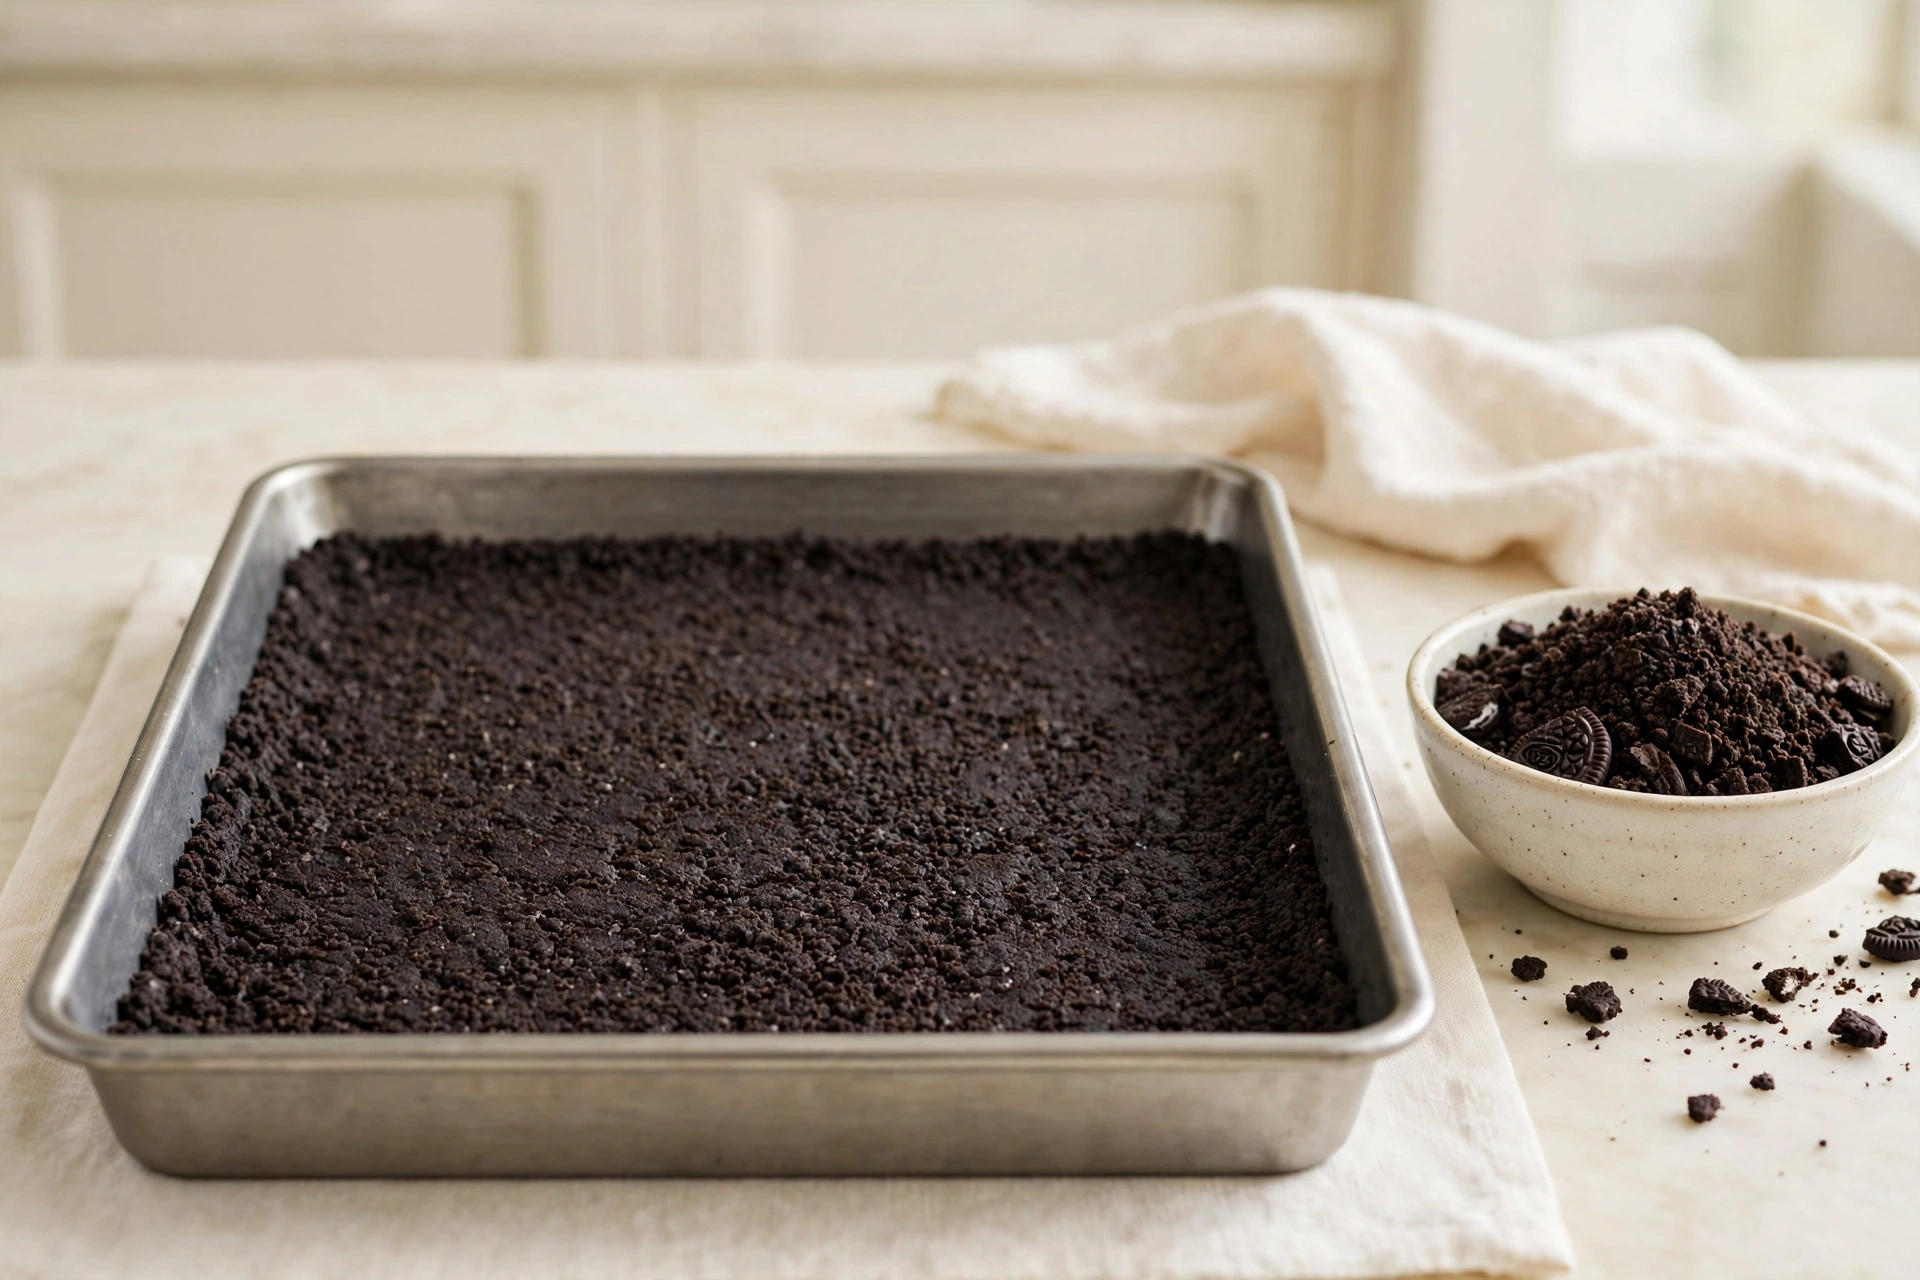
- Make the crust: Stir the crushed Oreos and melted butter together until the crumbs are evenly moistened. Press firmly into the bottom of the pan in an even layer — use the bottom of a measuring cup to pack it tight. Refrigerate while you make the filling.
- Make the filling: Beat the softened cream cheese and powdered sugar until completely smooth. Beat in the peppermint extract.
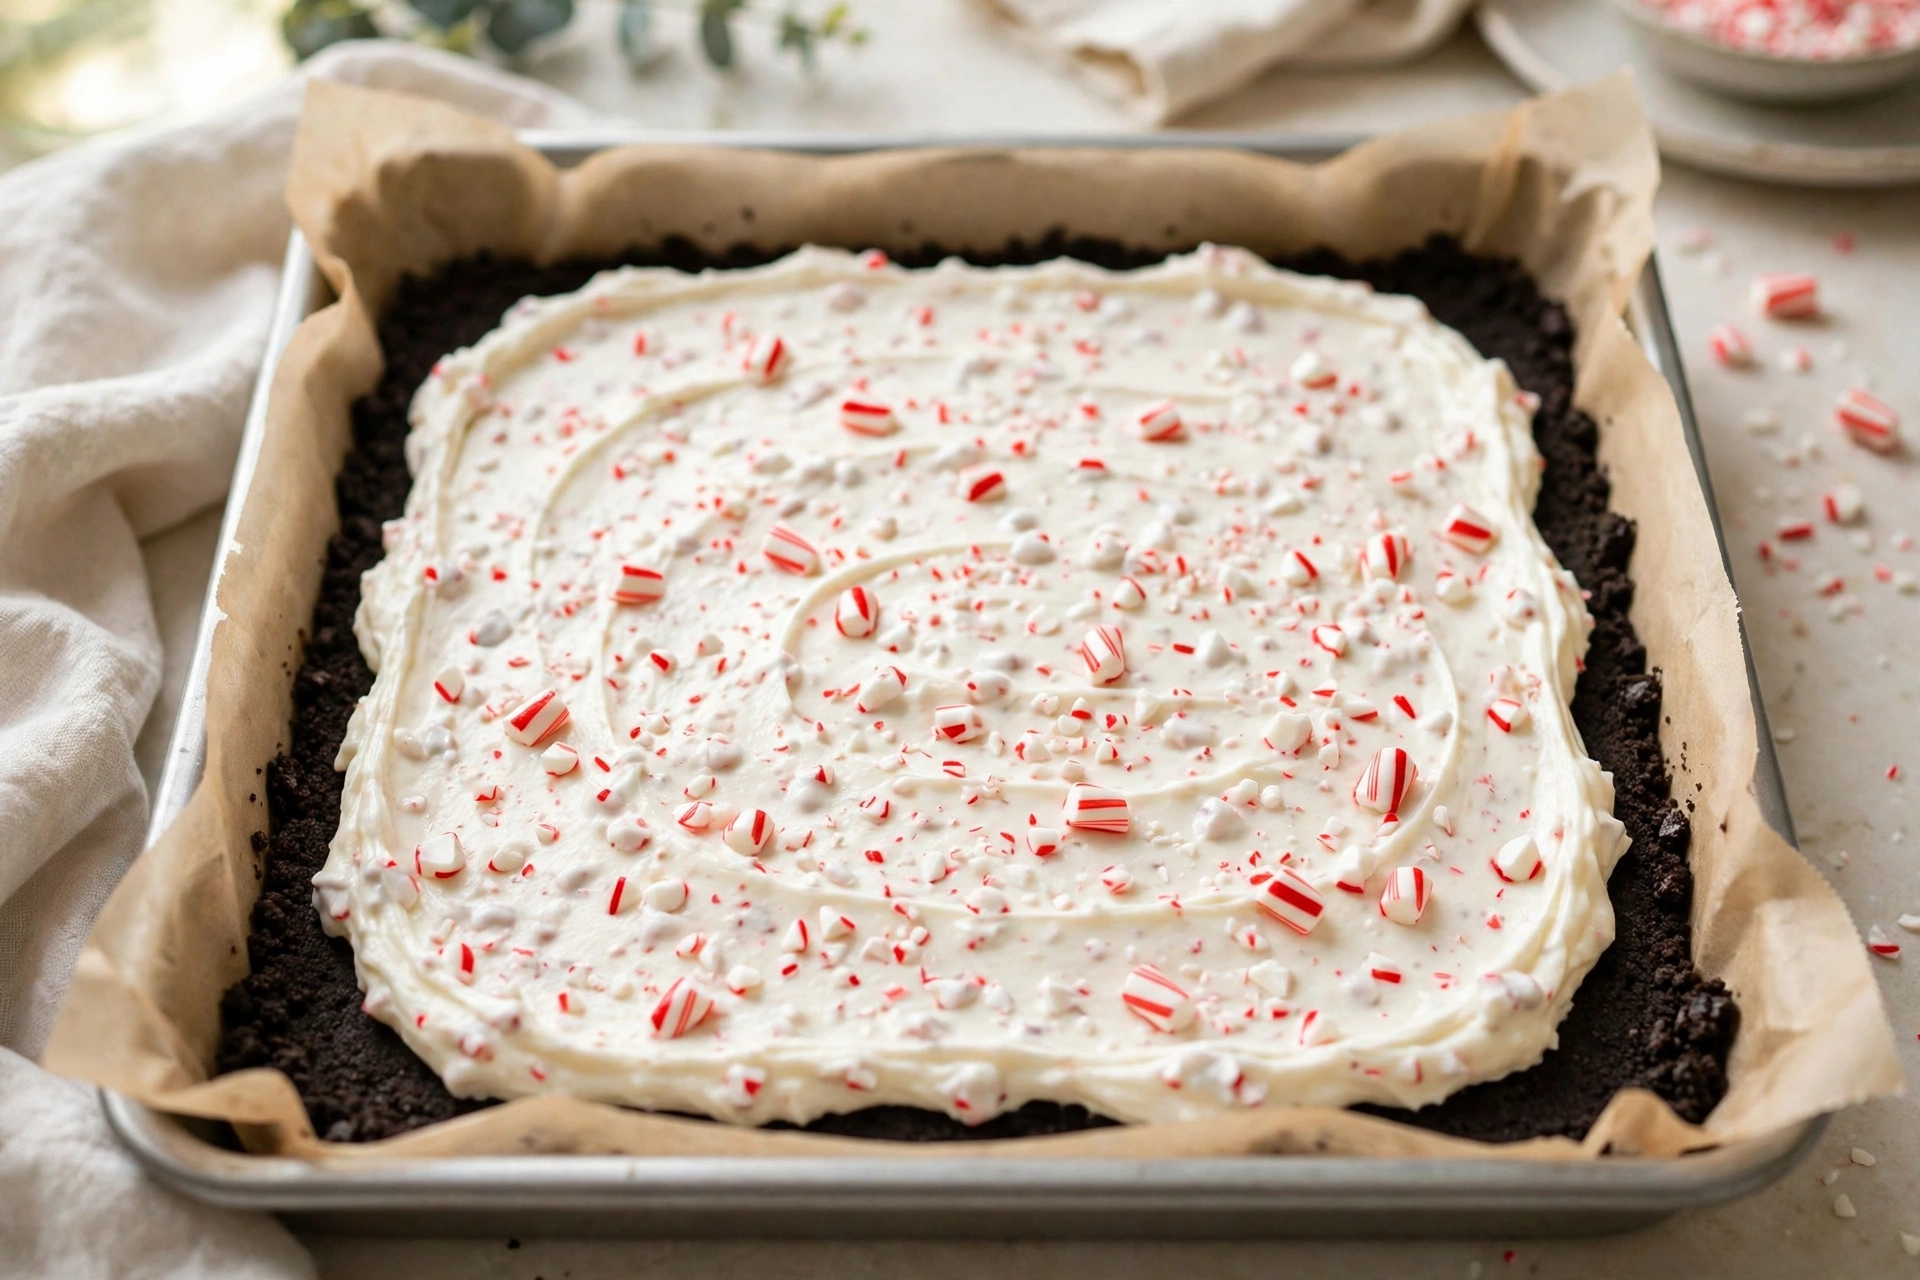
- Gently fold the whipped topping into the cream cheese mixture until no streaks remain. Fold in the 1/4 cup crushed candy canes.
- Spread the filling evenly over the chilled crust and smooth the top. Refrigerate for at least 4 hours, or overnight.
- Make the topping: Melt the white chocolate chips with the heavy cream in the microwave in 20-second bursts, stirring between each, until smooth. (Or melt in a heatproof bowl over simmering water.)
- Pour the white chocolate over the chilled filling and spread into a thin, even layer. Immediately sprinkle with the crushed candy canes.
- Refrigerate for 30 more minutes until the topping is set. Lift out using the parchment overhang and cut into small squares with a sharp knife, wiping the blade clean between cuts.
Tips for Success
- Use peppermint extract, not mint extract. Peppermint extract is made from peppermint oil and gives that classic candy-cane flavor; generic "mint" extract can taste flat or soapy.
- Pack the crust tightly. A firmly pressed crust holds together when you cut the bars. Press hard with a flat-bottomed cup — loose crumbs make crumbly bars.
- Chill in stages. Chilling the crust while you make the filling, then chilling the filling before the topping, gives you the cleanest layers.
- Wipe the knife between cuts. White chocolate smears — a quick wipe with a warm damp cloth between slices keeps every square looking sharp.
Variations
- Chocolate ganache top — swap the white chocolate for semi-sweet chocolate ganache for a classic black-and-white look
- Gluten-free — use gluten-free chocolate sandwich cookies for the crust; everything else is naturally gluten-free
- Extra minty — bump the peppermint extract to 3/4 teaspoon, but taste as you go — a little goes a long way
Storage
Keep refrigerated in an airtight container for up to 5 days. The bars are best served cold — the filling softens quickly at room temperature. Freeze cut bars in a single layer, then bag for up to 2 months; thaw in the fridge for a few hours before serving.
FAQ
Can I use real whipped cream instead of whipped topping? Yes. Whip 1 1/2 cups of heavy cream with 2 tablespoons of powdered sugar to soft peaks and fold it in the same way. Real whipped cream gives a slightly richer result, though the bars will be a touch softer.
Why is my filling runny? The cream cheese probably wasn't fully softened, or the whipped topping was over-folded and deflated. Fold gently — stop as soon as the streaks disappear — and make sure the bars get the full 4 hours of chill time.
Can I make these without candy canes? Absolutely. Swap the crushed candy canes for mini chocolate chips in the filling and top with extra Oreo crumbs or chocolate shavings instead.
Recipe Card
- Prep time: 20 minutes
- Cook time: 0 minutes (no-bake)
- Total time: 20 minutes (plus 4+ hours chilling)
- Servings: 16 bars
- Estimated calories per serving: ~280 per bar (estimated)

Hi, I’m Emma! I’m the cook and recipe developer behind Sizzle & Sage. From my sunny home kitchen, I share easy, flavor-packed recipes for real life — quick breakfasts, cozy weeknight dinners, and simple bakes anyone can make. Pull up a chair and stay a while!