Decorated Sugar Cookies with Royal Icing (Cut-Out Christmas Cookies)
Decorated sugar cookies with royal icing are the centerpiece of every serious Christmas cookie tray. A buttery vanilla cut-out cookie with crisp edges and a soft center makes the perfect canvas, and a batch of glossy royal icing turns simple shapes into little works of edible art.
The secret is a no-spread dough and a two-consistency icing approach. The dough chills before rolling so every star, tree, and snowflake holds its shape in the oven. The icing starts as a stiff outline, then gets thinned for flooding — outline first, flood second, and the icing settles into a smooth, glass-like finish as it dries.
These cut-out Christmas cookies are made for gifting, cookie exchanges, and decorating sessions with friends. The cookies bake in under 10 minutes each, and the decorating is the fun part — once the icing dries hard, the cookies stack neatly and travel beautifully.
Why You'll Love This Recipe
- No-spread cut-out dough — chilled, low-leavening dough keeps every Christmas shape crisp and clean through the bake
- Two-consistency royal icing — a simple outline-and-flood method gives smooth, glossy, professional-looking designs
- Decorating made approachable — step-by-step icing method works for beginners, with plenty of room to get fancy
- Built for gifting — dried royal icing sets hard, so the cookies stack, box, and ship without smudging
- One batch, dozens of designs — about 36 cookies from a single batch, perfect for cookie swaps and holiday trays
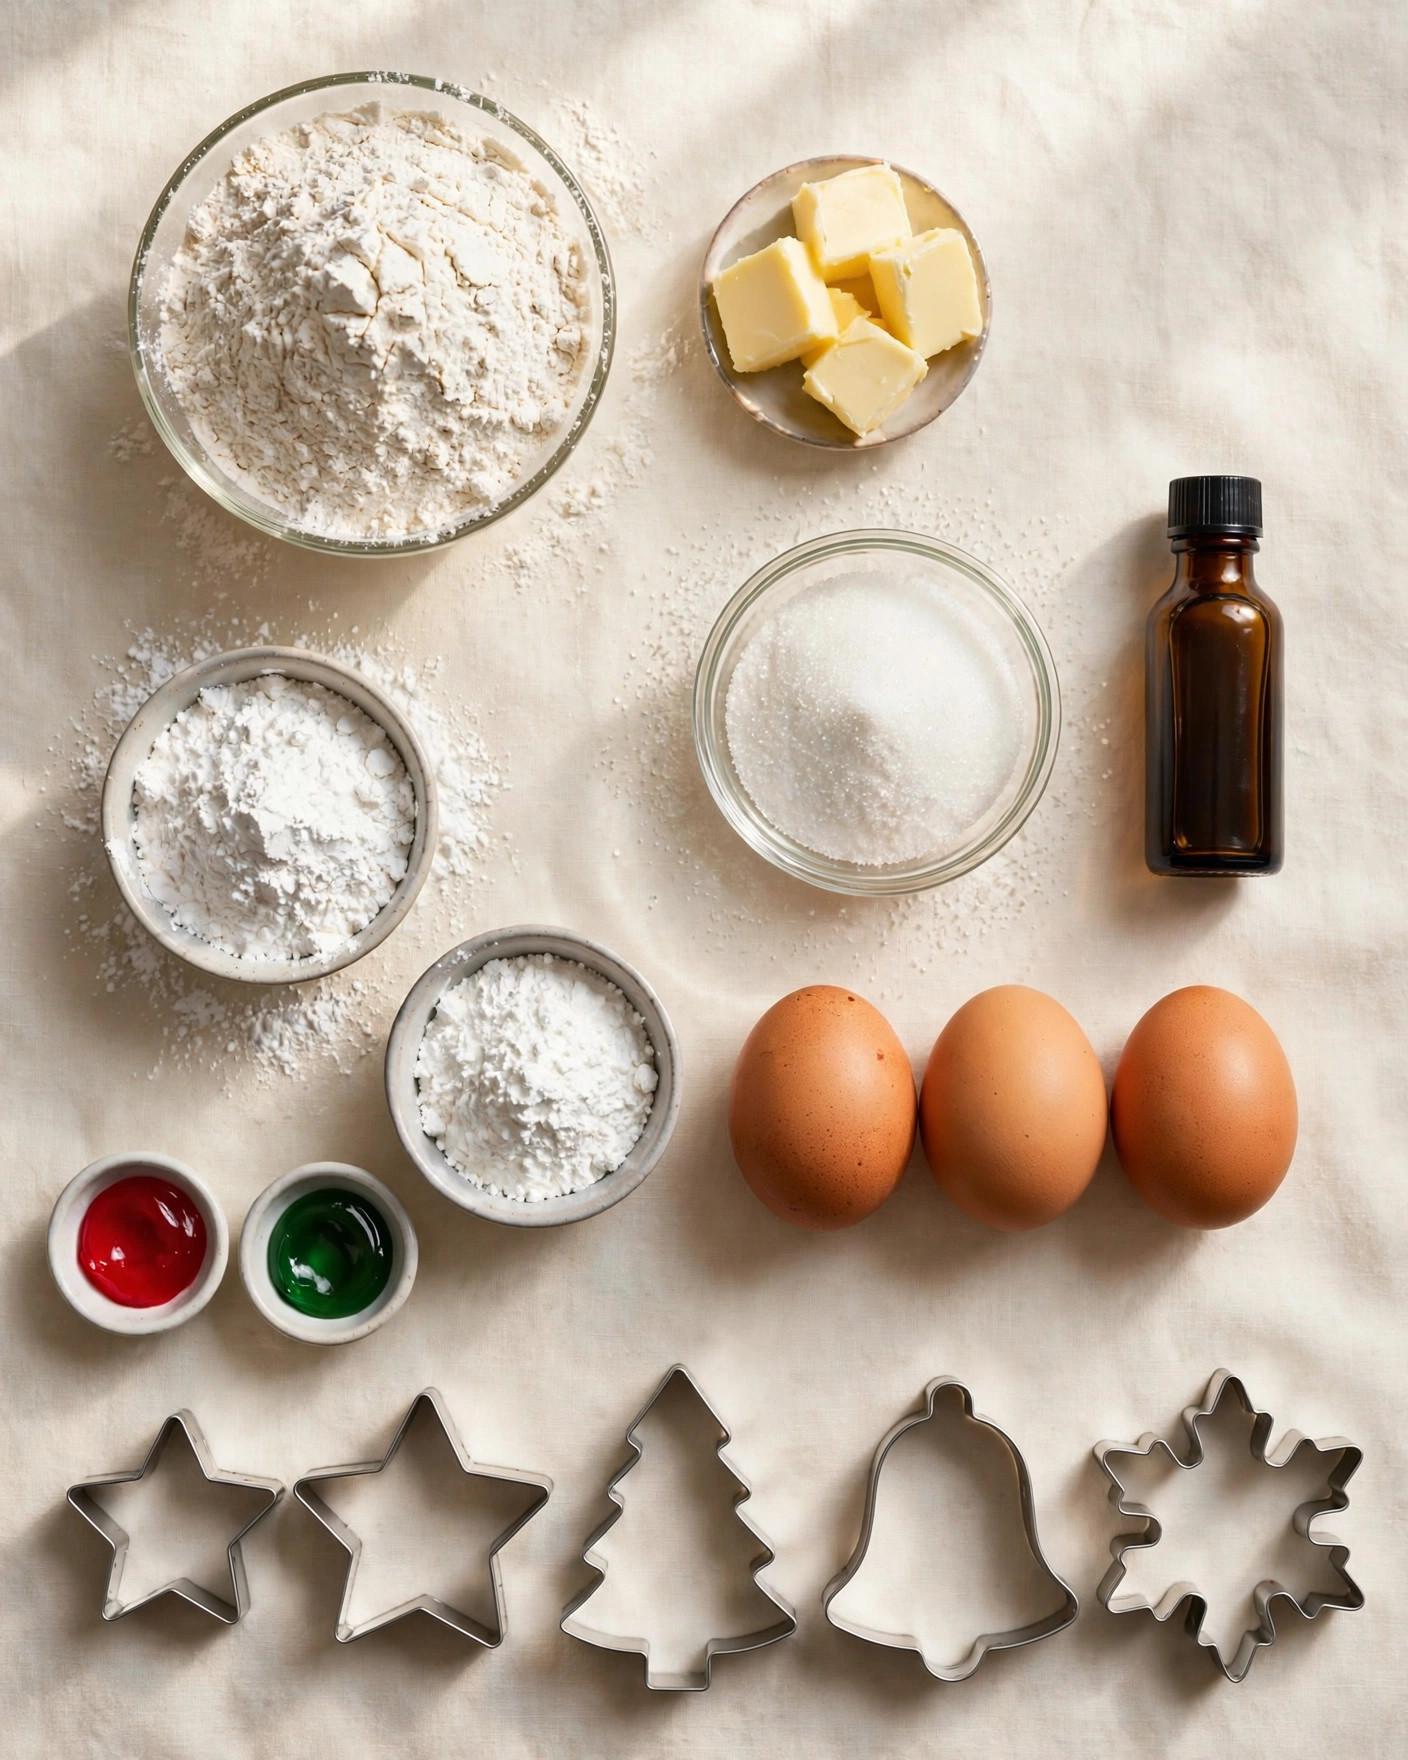
Ingredients
For the sugar cookies:
- 1 cup (227 g) unsalted butter, softened to room temperature
- 1 cup (200 g) granulated sugar
- 1 large egg, at room temperature, plus 1 large egg yolk
- 2 teaspoons vanilla extract
- 1/2 teaspoon almond extract
- 3 cups (375 g) all-purpose flour
- 1/2 teaspoon baking powder
- 1/2 teaspoon fine sea salt
For the royal icing:
- 4 cups (480 g) powdered sugar, sifted
- 3 tablespoons (27 g) meringue powder
- 5–6 tablespoons (75–90 ml) lukewarm water
- 1 teaspoon clear vanilla extract (or regular vanilla, which tints the icing slightly)
- Gel food coloring (red, green, and white suggested)
Instructions
- Make the dough. In a large mixing bowl, beat the softened butter and granulated sugar on medium-high speed for 2–3 minutes until light and fluffy. Beat in the egg, egg yolk, vanilla extract, and almond extract until smooth.
- Add the dry ingredients. In a separate bowl, whisk the flour, baking powder, and salt. Add to the butter mixture in two additions on low speed, mixing just until a soft dough forms and no flour streaks remain. Do not overmix.
- Chill the dough. Divide the dough in half, flatten each into a disk, and wrap tightly in plastic wrap. Refrigerate for at least 2 hours, or up to 2 days. Chilling is essential for crisp cut-out shapes.
- Roll and cut. Working with one disk at a time, roll the chilled dough on a lightly floured surface (or between two sheets of parchment paper) to 1/4-inch thickness. Cut with floured Christmas cookie cutters and transfer the shapes to parchment-lined baking sheets, spacing them 1 inch apart. Re-roll scraps once.
- Chill the cut shapes. Refrigerate the baking sheets with the cut cookies for 10–15 minutes. This second chill is the key to zero-spread edges in the oven.
- Bake. Preheat the oven to 350°F (175°C). Bake for 9–11 minutes, until the edges are just set and the centers look matte — do not let the cookies brown. Cool on the baking sheets for 5 minutes, then transfer to a wire rack to cool completely before decorating.
- Make the royal icing. In a large bowl, whisk the powdered sugar and meringue powder. Add 5 tablespoons of water and the vanilla extract, then beat with a hand mixer on medium speed for 4–5 minutes until thick, glossy, and forming stiff peaks — this is outline-consistency icing.
- Divide and color. Divide the icing among small bowls and tint with gel food coloring. Keep a portion white. Cover bowls with damp paper towels so the icing doesn't crust while you work.
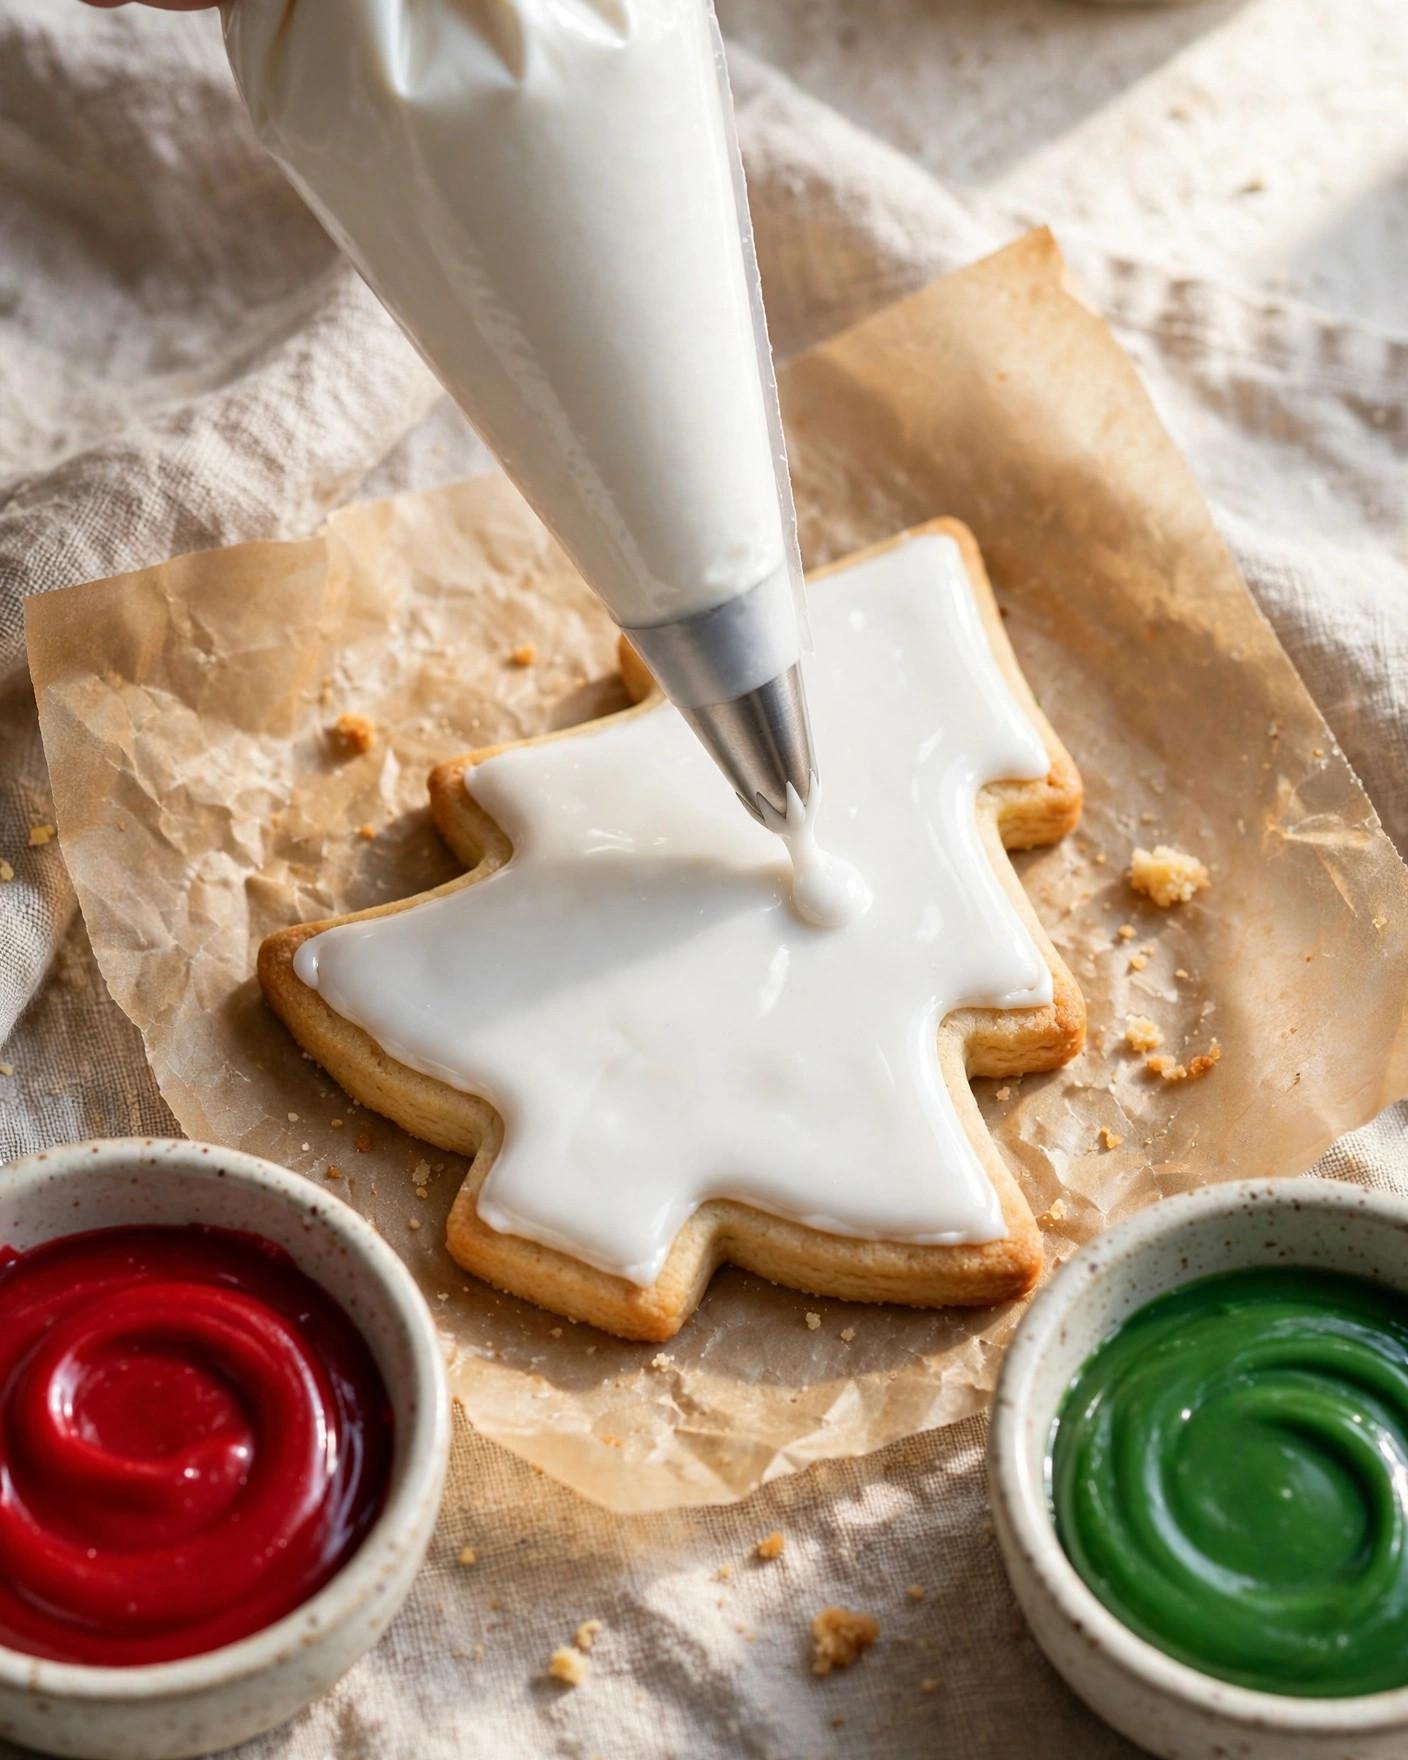
- Outline. Transfer outline-consistency icing to piping bags fitted with small round tips (#2 or #3). Pipe outlines around each cooled cookie, about 1/8 inch in from the edge. Let the outlines set for 10–15 minutes.
- Flood. Thin the remaining icing for flooding: add water 1/2 teaspoon at a time until the icing falls off a spoon in a thick ribbon and reabsorbs into itself within about 10 seconds. Pipe the flood icing inside the outlines and spread to the edges with a toothpick or scribe tool, popping any air bubbles.
- Decorate and dry. While the flood is wet, add wet-on-wet details (dots, swirls, marbling) or wait 15–20 minutes and add layered details with outline icing. Sprinkles must go on while the icing is wet. Let the decorated cookies dry uncovered at room temperature for 8–12 hours (overnight is safest) until the icing is completely hard before stacking.

Tips for Success
- Chill twice for zero spread. Cold dough plus cold cut-outs going into a hot oven is what keeps star points sharp and tree edges straight. Skip the second chill and the shapes will soften.
- Roll to an even 1/4 inch. Cookies thinner than 1/4 inch bake up crisp rather than soft-centered, and thicker ones lose detail. Rolling guides or a ruler make this easy.
- Use gel food coloring, not liquid. Liquid coloring thins the icing and mutes the colors. Gels give vivid red and green without changing the icing's consistency.
- Keep icing covered at all times. Royal icing crusts within minutes of air exposure. Drape damp paper towels over bowls and seal piping bags with clips between uses.
- Don't over-thin the flood. Flood icing that's too thin runs off the cookie and dries dull and cratered. Aim for the 10-second reabsorption test: a drizzled ribbon should melt back into the surface in about 10 seconds.
- Let the icing dry completely before stacking. Rushing this step is how decorations smudge. The icing should feel rock-hard and make no impression when pressed gently with a fingertip.
Variations
- Lemon royal icing cookies: swap the vanilla in the icing for 1 teaspoon lemon extract and skip the almond extract in the dough for a bright citrus twist.
- Chocolate cut-out cookies: replace 1/3 cup (30 g) of the flour with Dutch-process cocoa powder for chocolate cut-outs that pair beautifully with white royal icing.
- Spiced Christmas cookies: add 1 teaspoon ground cinnamon and 1/4 teaspoon ground ginger to the dry ingredients for a gently spiced holiday dough.
- Simple glaze instead of royal icing: whisk 2 cups (240 g) powdered sugar with 3–4 tablespoons milk and 1/2 teaspoon vanilla for a pourable glaze — it dries softer than royal icing but needs no meringue powder.
- Sprinkle-decorated version: skip the piping and press colored sprinkles or sanding sugar into the cut-outs before baking for a quick kid-friendly tray.
- Almond snowflake cookies: double the almond extract in the dough and decorate only in white icing with pearl sprinkles for an elegant winter look.
Storage
Store fully dried decorated sugar cookies in an airtight container at room temperature for up to 2 weeks, layering parchment or wax paper between cookies so the icing doesn't scratch. Unbaked dough disks keep in the refrigerator for up to 3 days or frozen for up to 3 months — thaw frozen dough in the refrigerator overnight before rolling. Baked but undecorated cookies freeze well for up to 3 months in airtight layers; thaw at room temperature, then ice as usual. Avoid refrigerating finished cookies, since condensation can spot or bleed the royal icing.
FAQ
Why did my royal icing dry dull instead of glossy?
Dull icing is usually over-thinned or over-beaten. Add water very sparingly when making flood consistency, and don't beat the icing past stiff peaks. Also, let cookies dry at room temperature — humidity and fans aimed directly at the icing can dull the finish.
Can I make royal icing without meringue powder?
Yes — beat 3 large egg whites (pasteurized, if you prefer) with 4 cups of sifted powdered sugar and 1/2 teaspoon cream of tartar until stiff peaks form. Meringue powder is more stable and food-safe without raw eggs, which is why most decorators use it.
How far ahead can I make decorated sugar cookies?
They keep well: bake up to 3 days ahead and store undecorated airtight, or decorate up to 2 weeks ahead since the dried icing seals the cookie. For gifting, decorate 2–3 days before giving so the icing is fully cured.
Why did my cut-out shapes spread in the oven?
The usual causes are warm dough, too much leavening, or over-creamed butter. Chill the cut shapes before baking, measure the baking powder exactly, and stop creaming once the butter and sugar look light and fluffy — don't keep beating past that point.

Recipe Card
- Prep time: 30 minutes (plus 2 hours chilling and overnight icing dry time)
- Cook time: 10 minutes per batch
- Total time: 2 hours 40 minutes (plus drying time)
- Servings: 36 cookies
- Estimated calories per serving: ~130

Hi, I’m Emma! I’m the cook and recipe developer behind Sizzle & Sage. From my sunny home kitchen, I share easy, flavor-packed recipes for real life — quick breakfasts, cozy weeknight dinners, and simple bakes anyone can make. Pull up a chair and stay a while!