No-Bake Vegan Pumpkin Cheesecake Bars
Cheesecake without dairy sounds like a contradiction until you see what a high-speed blender does to soaked cashews. Blended long enough with pumpkin puree, coconut cream, maple syrup, and warm spices, they turn into a filling that is dense, smooth, and sliceable — the kind that cuts into clean squares and holds its shape on a plate. These no-bake vegan pumpkin cheesecake bars lean into that texture: a buttery-tasting graham-oat crust pressed firmly into a pan, a thick layer of spiced pumpkin filling poured over it, and a long, patient chill that firms everything into bars you can pick up with your fingers.
There is no oven involved, which makes these bars one of the most forgiving fall desserts you can make. The hardest part is waiting for the chill to do its work. Everything else is measuring, blending, and pressing. The crust comes together in a food processor in about a minute, the filling needs only a blender and a few minutes of patience while it turns completely silky, and once the pan goes into the refrigerator, the bars are essentially done. That hands-off stretch makes them a natural fit for holidays and gatherings, when the oven is already busy with everything else.
These bars also solve a common dessert-table problem: they are dairy-free, egg-free, and naturally sweetened with maple syrup, so they work for guests who skip dairy or eggs without needing a separate "special" dessert. A batch cuts into sixteen tidy bars, they travel well straight from the fridge, and they freeze beautifully, which means a single afternoon of blending can stock you with make-ahead fall dessert for weeks. Whether this is your first vegan baking project or your fiftieth, the method is straightforward and the payoff is a platter of bars that tastes like autumn in square form.
Why You'll Love This Recipe
- Completely no-bake. No oven, no water bath, no worrying about cracks or overbaking. The refrigerator does all the setting work while you get on with your day.
- Creamy cashew filling. Soaked cashews blend into a thick, smooth filling that slices cleanly and eats dense and rich — no cream cheese, no dairy, no gelatin.
- Spiced graham-oat crust. Graham cracker crumbs mixed with rolled oats, pumpkin pie spice, and coconut oil press into a firm, flavorful base that balances the creamy filling.
- Make-ahead friendly. The bars need at least 6 hours of chilling, which means you can make them the day before any event and simply slice and serve when the time comes.
- Freezer-friendly. Wrapped well, the bars keep in the freezer for up to 2 months, so one batch can cover multiple occasions.
- Allergy-conscious crowd pleaser. Dairy-free, egg-free, and naturally sweetened with maple syrup, with a simple gluten-free swap available for the crust.
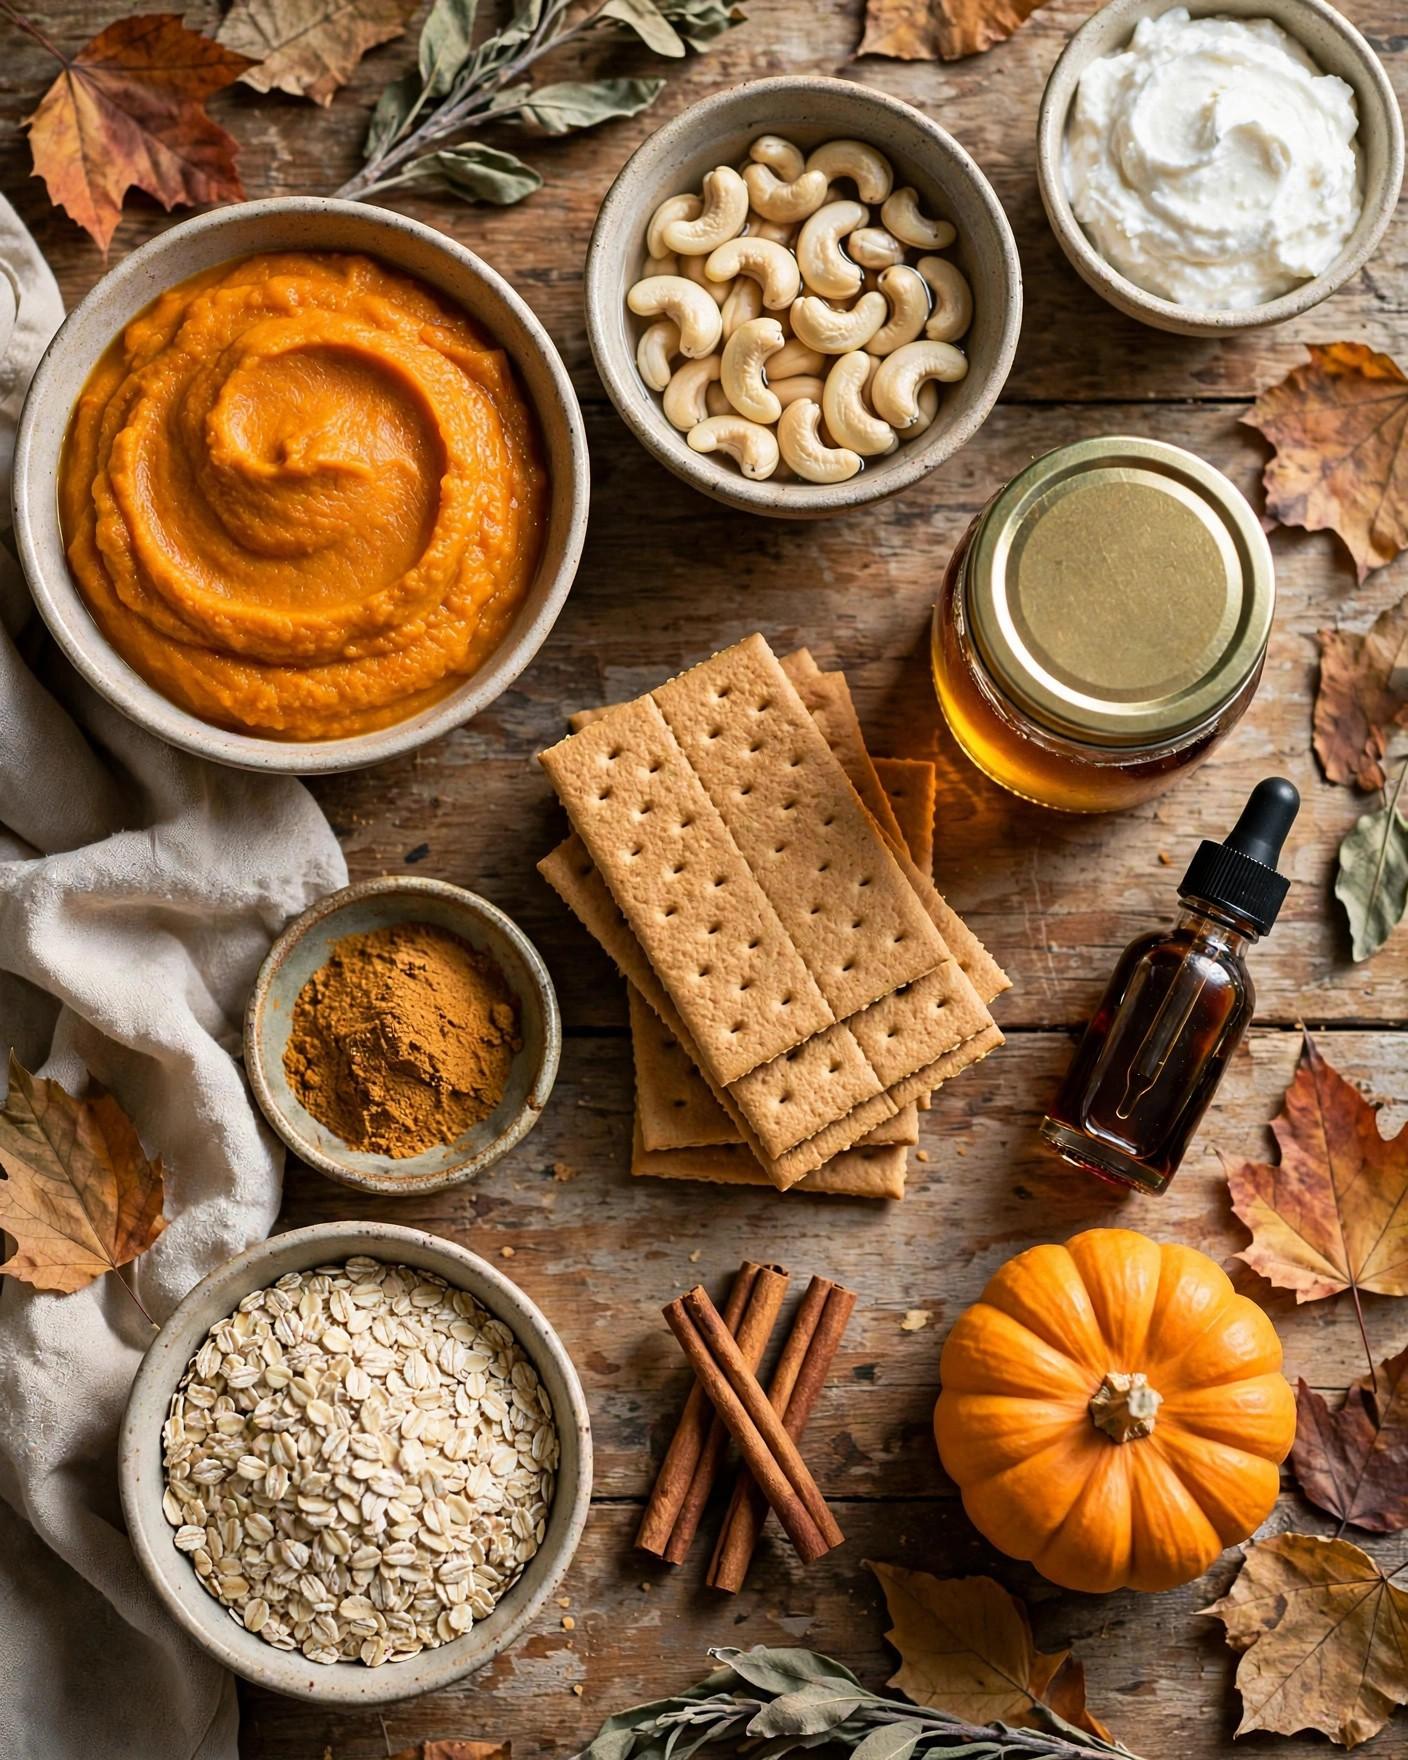
Ingredients
For the crust
- 1 1/2 cups (150 g) graham cracker crumbs
- 1/2 cup (45 g) old-fashioned rolled oats
- 1/4 cup (60 ml) coconut oil, melted
- 2 tablespoons pure maple syrup
- 1/2 teaspoon pumpkin pie spice
- 1/4 teaspoon fine sea salt
For the filling
- 2 cups (300 g) raw cashews, soaked
- 1 1/2 cups (340 g) canned pumpkin puree
- 1/2 cup (120 ml) full-fat coconut cream
- 1/2 cup (120 ml) pure maple syrup
- 1/4 cup (60 ml) coconut oil, melted
- 2 tablespoons fresh lemon juice
- 2 teaspoons pumpkin pie spice
- 1 teaspoon pure vanilla extract
- 1/4 teaspoon fine sea salt
Why these ingredients matter
Raw cashews. Cashews are the structural heart of the filling. When soaked until soft and blended thoroughly, they break down into a thick, creamy base that firms up in the cold the way traditional cheesecake firms as it cools. Use raw, unsalted cashews — roasted or salted cashews will bring off flavors and a less smooth result. Soaking is what makes the difference between silky and gritty, so do not skip it.
Pumpkin puree. Canned pumpkin puree gives the filling its unmistakable fall flavor and deep orange color. Be sure to buy plain pumpkin puree, not pumpkin pie filling, which is already sweetened and spiced and will throw the recipe's balance off. Different brands vary slightly in moisture content; if your puree looks very watery, blot it briefly with a paper towel before measuring.
Coconut cream. The thick cream skimmed from a can of full-fat coconut milk adds richness and helps the filling set firmly. Chill the can overnight and scoop only the thick cream from the top, leaving the thin coconut water behind. If you can find cans labeled coconut cream, those work even better since they are mostly cream already.
Coconut oil. Melted coconut oil is firm at refrigerator temperature, which is exactly what these bars need. It is the setting agent in both the crust and the filling: it binds the crumbs together and gives the filling the sliceable, cheesecake-like firmness. Use refined coconut oil if you want to keep any coconut flavor out of the background.
Maple syrup. Pure maple syrup sweetens both layers with a caramel-like depth that pairs naturally with pumpkin and spice. It also keeps the bars softer and easier to slice straight from the fridge than granulated sugar would. Use the real thing, not pancake syrup, for the cleanest flavor.
Graham crackers and rolled oats. Graham crumbs form the classic cheesecake-bar base, and the rolled oats add texture and help the crust hold together once pressed. For a gluten-free version, use certified gluten-free graham crackers and gluten-free oats.
Pumpkin pie spice. This blend of cinnamon, ginger, nutmeg, cloves, and allspice is what makes the bars taste like pumpkin cheesecake instead of plain pumpkin. It seasons both the crust and the filling so the spice flavor runs through every bite. If you do not have a premade blend, 1 teaspoon cinnamon plus pinches of ginger, nutmeg, and cloves gets you close.
Lemon juice. A small amount of fresh lemon juice does two jobs: it brightens the rich, fatty filling so it tastes balanced rather than heavy, and it echoes the gentle tang that dairy cheesecake gets from cream cheese. Do not worry about a lemony taste — two tablespoons vanish into the pumpkin and spice.
Vanilla and salt. Vanilla rounds out the spice blend, and salt sharpens every flavor in the pan. In no-bake desserts, where there is no oven heat to develop flavor, both matter more than usual, so measure them generously rather than eyeballing.
Instructions
- Soak the cashews. Place the raw cashews in a large bowl and cover them with water by at least 2 inches. Let them soak at room temperature for 4 to 6 hours, or overnight in the refrigerator. For a faster option, cover them with boiling water and soak for 1 hour. Drain and rinse the cashews well before using — soaking softens them so the blender can break them down completely, which is what makes the filling silky instead of grainy.
- Prepare the pan. Line an 8×8-inch (20 cm) square baking pan with parchment paper, leaving a 2-inch overhang on two opposite sides. This overhang works as a sling that lets you lift the whole slab of bars out of the pan cleanly after chilling, which makes slicing much easier than digging bars out of the corners.
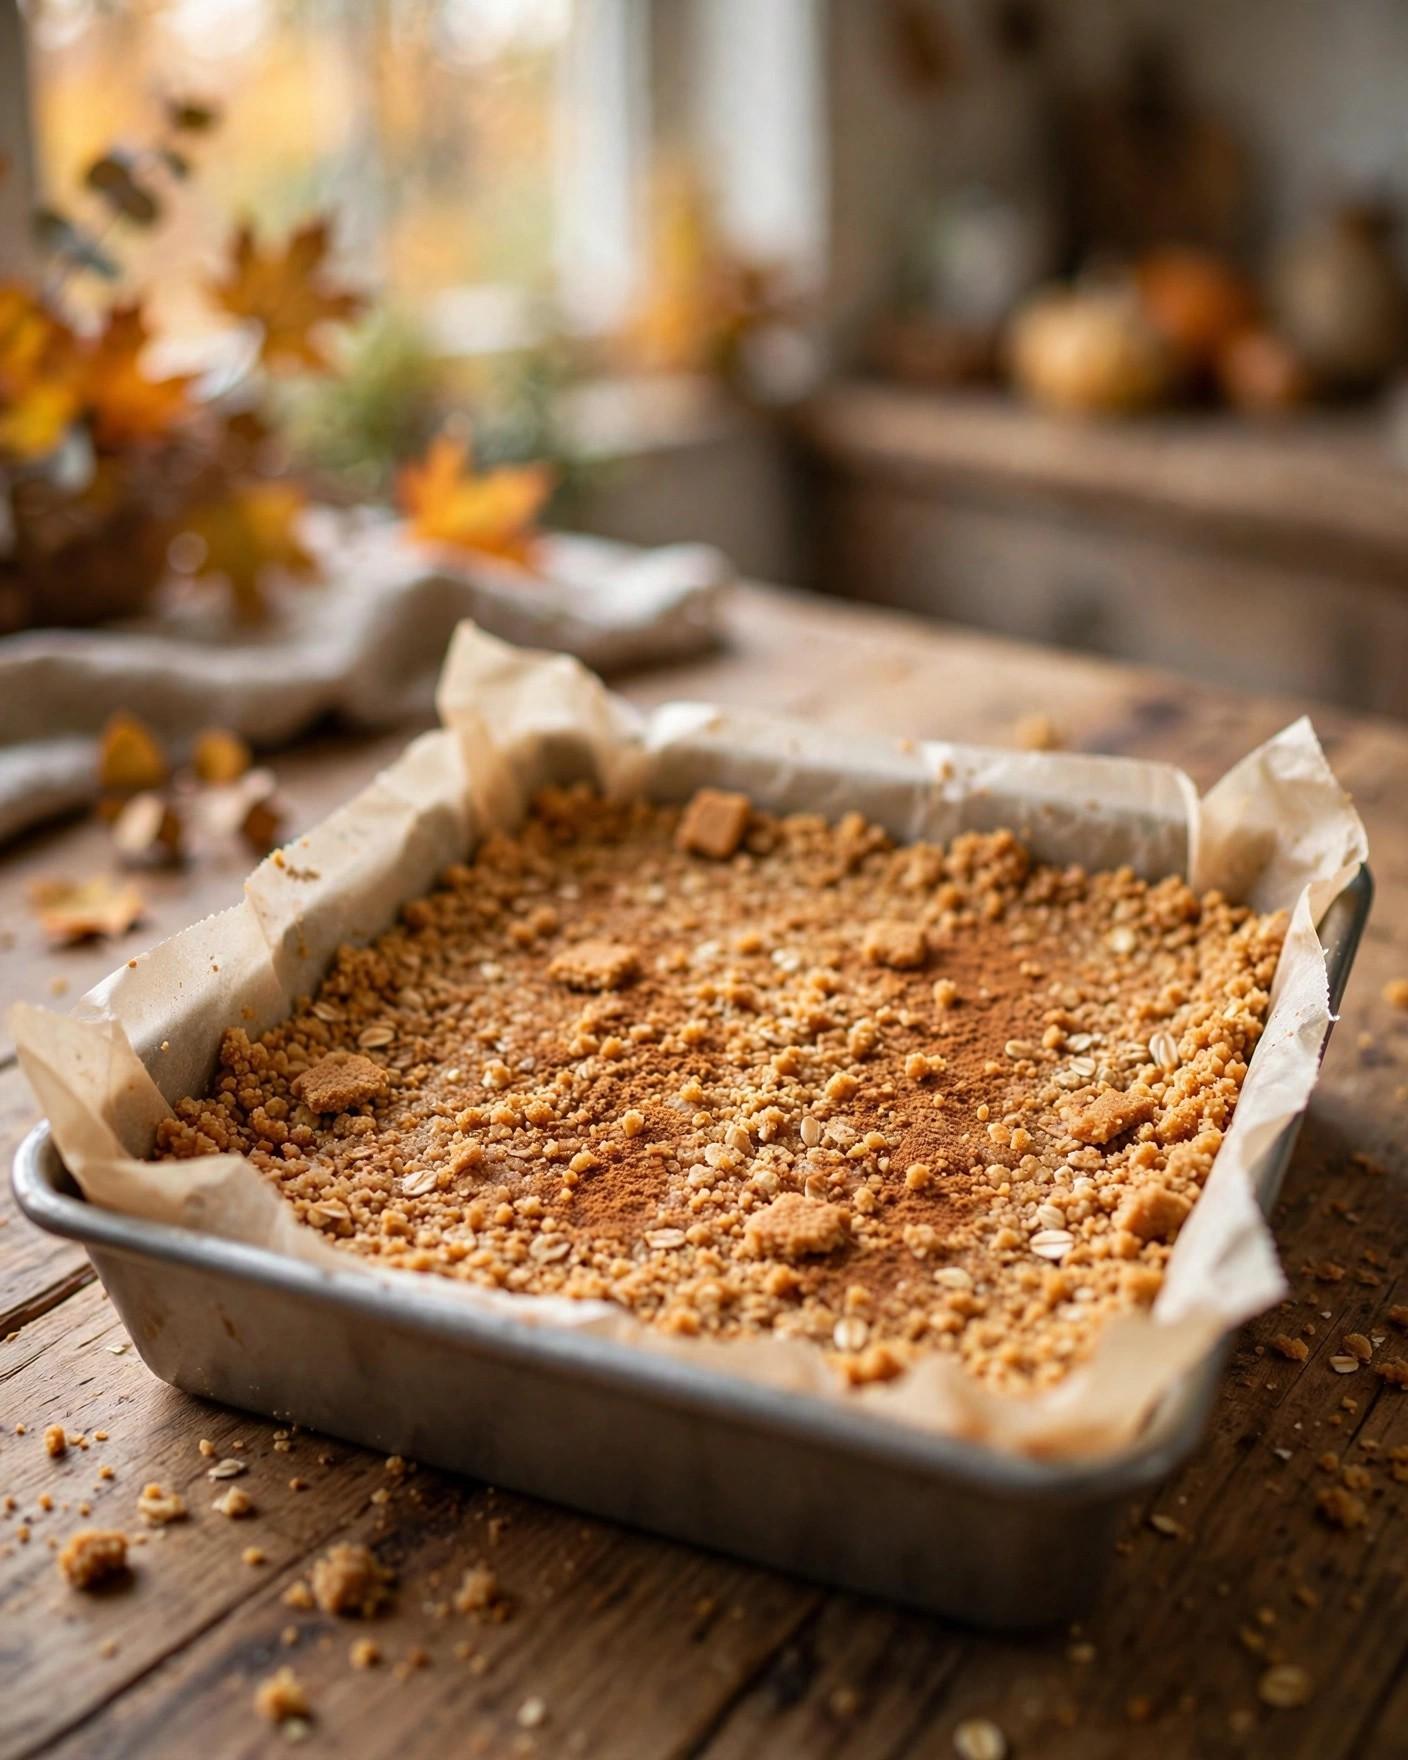
- Make the crust. Add the graham cracker crumbs, rolled oats, pumpkin pie spice, and salt to a food processor and pulse 8 to 10 times until the oats are broken down and the mixture looks like coarse crumbs. With the processor running, drizzle in the melted coconut oil and maple syrup and process until the mixture holds together when you squeeze a handful. Transfer the crumbs to the prepared pan and press them into an even, compact layer using the bottom of a measuring cup or glass. Press firmly, especially into the corners — a tightly packed crust is what keeps the bars from crumbling when sliced.
- Chill the crust. Place the pan in the refrigerator while you make the filling. Even 10 to 15 minutes of chilling firms the coconut oil in the crust and gives the filling a solid base to sit on, which helps the layers stay distinct when you cut the bars.
- Blend the filling. Add the drained cashews, pumpkin puree, coconut cream, maple syrup, melted coconut oil, lemon juice, pumpkin pie spice, vanilla, and salt to a high-speed blender. Blend on high for 2 to 3 minutes, stopping once or twice to scrape down the sides, until the mixture is completely smooth and glossy with no visible specks of cashew. Be patient here — this step determines the final texture. Rub a little filling between your fingers; if you feel any graininess, keep blending.
- Fill the pan and chill. Pour the filling over the chilled crust and spread it into an even layer with an offset spatula or the back of a spoon. Tap the pan firmly on the counter two or three times to release any trapped air bubbles. Cover with plastic wrap or a lid and refrigerate for at least 6 hours, or preferably overnight. The bars are set when the surface feels firm to the touch and the slab does not jiggle when you nudge the pan.
- Slice into bars. Lift the slab out of the pan using the parchment sling and place it on a cutting board. Dip a long, sharp knife in hot water, wipe it dry, and cut the slab into 16 bars (4 rows each way), wiping the knife clean between cuts. The hot, dry knife gives you the cleanest edges; room-temperature or wet knives drag and smear the layers.
- Serve. Arrange the bars on a serving plate and dust lightly with a pinch of cinnamon or pumpkin pie spice just before serving. Keep any uneaten bars refrigerated — these are best served cold, straight from the fridge.


Tips for Perfect No-Bake Vegan Pumpkin Cheesecake Bars
- Do not rush the cashew soak. Under-soaked cashews will not fully break down no matter how long you blend, and the filling will stay slightly grainy. If you forgot to soak ahead, the boiling-water quick soak (1 hour) is the reliable fallback — just drain and rinse well.
- Blend longer than feels necessary. The difference between a good filling and a great one is usually one extra minute of blending. Scrape down the sides at least twice, and test for silkiness by rubbing a dab between your fingers before you pour.
- Keep the coconut oil melted, not hot. If the melted coconut oil is steaming hot when it hits the blender, it can make the filling slightly thin and encourage separation. Let it cool for a few minutes after melting until it is just warm and liquid.
- Measure the pumpkin carefully. Too much pumpkin puree adds water and can make the bars soft. Spoon the puree into the measuring cup rather than scooping from the can, and level it off for accuracy.
- Line the pan with overhang. The parchment sling is not optional decoration — trying to slice bars inside a deep pan gives you ragged edges and stuck corners. The overhang lift takes ten seconds and makes clean cuts effortless.
- Slice while cold. These bars cut cleanest straight from the refrigerator. If they have been sitting at room temperature for more than 20 minutes, return the slab to the fridge for 30 minutes before slicing.
- Taste the filling before chilling. Once blended, taste a spoonful. Want more spice? Add another 1/2 teaspoon of pumpkin pie spice. More brightness? A teaspoon more lemon juice. Adjustments are easy now and impossible later.
Variations
- Gingersnap crust. Swap the graham cracker crumbs for crushed gingersnaps (same 1 1/2 cups) for a spicier, deeper crust that pairs beautifully with the pumpkin filling. Reduce the pumpkin pie spice in the crust to 1/4 teaspoon so the gingersnap spice is not doubled up.
- Chocolate swirl bars. After pouring the filling, drizzle 2 tablespoons of melted dark chocolate over the top and drag a toothpick through it in zigzags before chilling for a marbled finish.
- Maple-pecan topping. Once the bars are chilled and sliced, top each with a drizzle of maple syrup and a few toasted pecan halves for extra crunch and a praline-like note.
- Mini cheesecake bites. Press the crust into a lined mini muffin tin (about 24 cups) and spoon the filling over it for two-bite portions — ideal for party platters. Chill the same 6 hours and pop them out with the parchment.
- Nut-free version. Replace the cashews with an equal weight of raw sunflower seeds soaked the same way, and replace the coconut cream with an equal amount of thick vegan yogurt. The flavor shifts slightly but the method and setting work the same.
- Extra-spice version. Add 1/2 teaspoon ground ginger and 1/4 teaspoon ground cloves to the filling for a bolder, more traditional pumpkin-pie spice profile.
Storage
Store the bars in an airtight container in the refrigerator for up to 1 week. Layer them between sheets of parchment paper so they do not stick together, and keep them cold until serving — they soften noticeably after about 30 minutes at room temperature.
For longer storage, freeze the bars in a single layer on a parchment-lined baking sheet until solid (about 2 hours), then transfer them to a freezer bag or airtight container with parchment between the layers. They keep in the freezer for up to 2 months. Thaw individual bars in the refrigerator for 3 to 4 hours, or at room temperature for 20 to 30 minutes if you are in a hurry. The crust stays firm and the filling keeps its smooth texture after thawing.
Do not leave the bars at room temperature for more than about 2 hours. Since the setting depends on coconut oil firming in the cold, extended time at warm room temperature will soften the bars and make them difficult to serve cleanly.
FAQ
Do I really need to soak the cashews first? Yes — soaking is what lets the cashews blend into a completely smooth filling. Dry cashews will stay grainy no matter how long you blend. Soak them for 4 to 6 hours at room temperature (or overnight in the refrigerator), or use the quick method: cover with boiling water and soak for 1 hour, then drain and rinse well before blending.
Can I make these without a high-speed blender? A regular blender or food processor can work, but expect to blend longer — up to 4 or 5 minutes — with several rounds of scraping down the sides. The filling may end up slightly less silky than with a high-speed blender, but it will still set and slice fine. Make sure the cashews are thoroughly soaked, since softer cashews blend more easily in lower-powered machines.
How do I know when the bars are fully set? Chill for at least 6 hours, or overnight for the firmest result. The bars are ready when the surface feels firm to the touch and the slab barely moves when you gently shake the pan. If the center still jiggles, give them more time — a soft center means the coconut oil has not fully firmed. You can also freeze the pan for 30 to 60 minutes to speed things up in a pinch.
Can I freeze these bars? Yes, they freeze very well. Freeze sliced bars in a single layer on a parchment-lined baking sheet until solid, then transfer to a freezer bag or airtight container with parchment between the layers. They keep for up to 2 months. Thaw in the refrigerator for 3 to 4 hours before serving — the texture stays smooth and the crust stays firm after thawing.

Recipe Card
No-Bake Vegan Pumpkin Cheesecake Bars
- Prep Time: 25 minutes (PT25M)
- Cook Time: 0 minutes (PT0M)
- Total Time: 6 hours 25 minutes (PT6H25M)
- Servings: 16 bars
- Calories: 270 kcal per serving (estimated)
No-bake vegan pumpkin cheesecake bars with a spiced graham-oat crust and a creamy cashew-based pumpkin filling. The filling blends raw soaked cashews with pumpkin puree, coconut cream, maple syrup, and pumpkin pie spice into a smooth, sliceable layer that sets firmly in the refrigerator — no oven, no dairy, no eggs. Chill for at least 6 hours (overnight is best), slice into 16 bars, and keep them refrigerated for up to a week or freeze for up to 2 months.

Hi, I’m Emma! I’m the cook and recipe developer behind Sizzle & Sage. From my sunny home kitchen, I share easy, flavor-packed recipes for real life — quick breakfasts, cozy weeknight dinners, and simple bakes anyone can make. Pull up a chair and stay a while!