

Peanut Butter Blossoms (Classic Hershey’s Kiss Christmas Cookies)
Peanut butter blossoms are the cookie that defines Christmas baking for so many holiday trays — a soft, chewy peanut butter cookie rolled in sparkling sugar with a chocolate kiss pressed right into the warm center. The contrast is the whole point: tender peanut butter cookie against the firm, cool bite of milk chocolate.
The method is simple but timing matters. The cookies bake just until set with lightly cracked tops, and the kisses go on immediately, while the cookies are still warm enough to hold them. If you wait too long, the kisses sit on top instead of nestling into the center.
These are a natural for cookie exchanges, gift boxes, and holiday dessert tables — they travel well, stack neatly once the chocolate firms up, and everyone recognizes them on sight.
Why You'll Love This Recipe
- Classic Christmas-cookie look — the signature chocolate kiss center makes these instantly recognizable on any holiday tray
- Soft and chewy, never dry — the right fat-to-flour ratio keeps them tender for days, not crumbly
- Sugary sparkle finish — rolling the dough balls in granulated sugar gives a sweet crunch and pretty shimmer
- One bowl, no chilling — the dough mixes fast and bakes right away, no resting required
- Feeds a crowd — one batch makes 48 cookies, perfect for swaps, gifting, and big gatherings

Ingredients
- 1/2 cup (113 g) unsalted butter, softened to room temperature
- 3/4 cup (190 g) creamy peanut butter (not natural-style)
- 1/3 cup (65 g) granulated sugar, plus 1/3 cup (65 g) more for rolling
- 1/3 cup (70 g) packed light brown sugar
- 1 large egg, at room temperature
- 2 tablespoons milk
- 1 teaspoon vanilla extract
- 1 1/2 cups (190 g) all-purpose flour
- 1 teaspoon baking soda
- 1/2 teaspoon fine sea salt
- 48 chocolate kiss candies, unwrapped
Instructions
- Preheat the oven to 375°F (190°C). Line two baking sheets with parchment paper. Unwrap all 48 chocolate kiss candies and set them aside.
- In a large mixing bowl, beat the softened butter with the creamy peanut butter, 1/3 cup granulated sugar, and the brown sugar on medium speed for 2–3 minutes, until light and fluffy. Scrape down the sides of the bowl.
- Beat in the egg, milk, and vanilla extract until smooth and fully combined.
- In a separate medium bowl, whisk together the flour, baking soda, and salt. Add the dry mixture to the wet mixture in two additions, mixing on low speed just until a soft dough forms. Do not overmix.
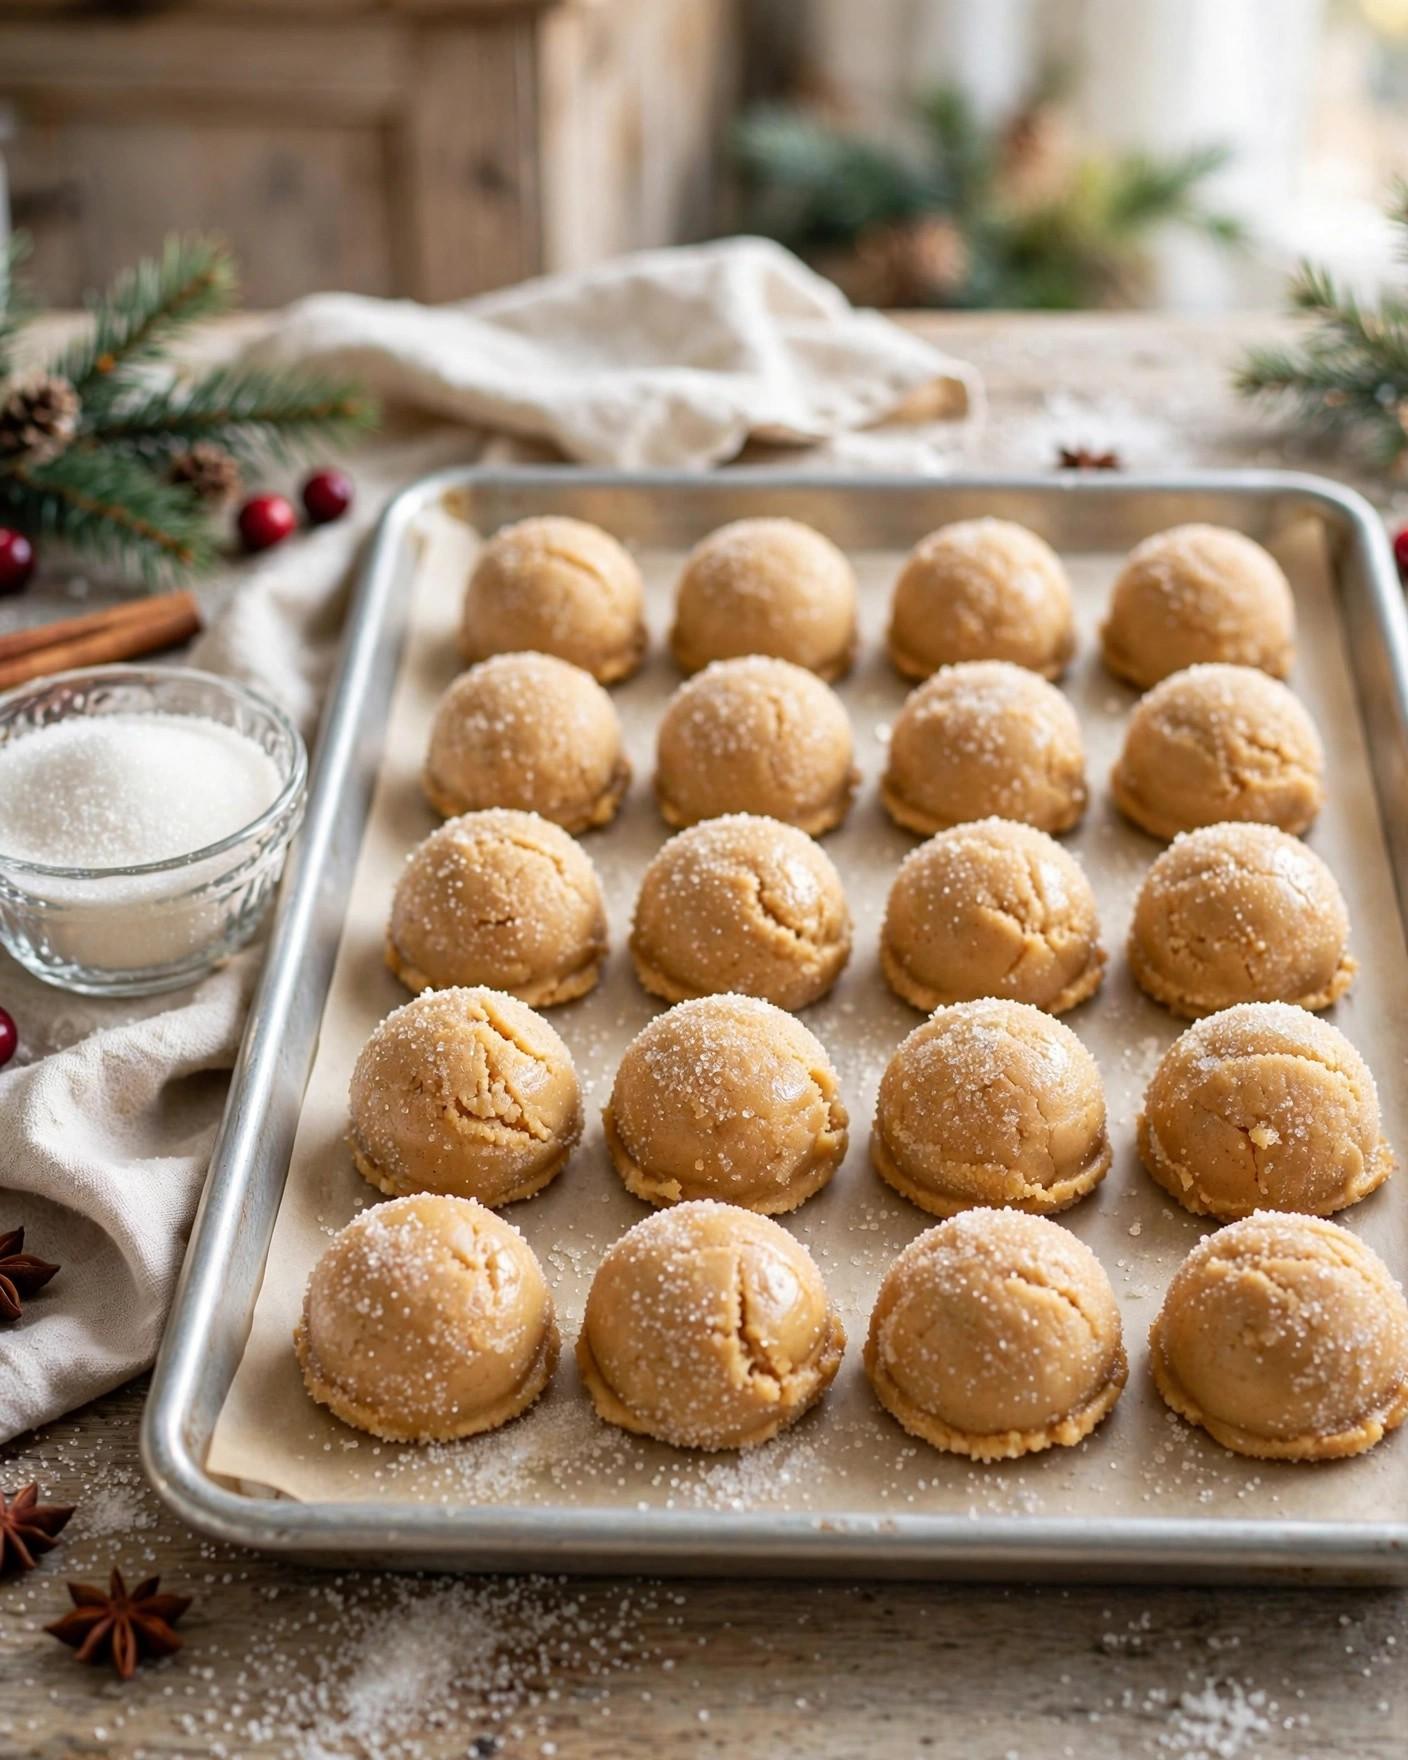
- Place the remaining 1/3 cup granulated sugar in a shallow bowl. Scoop the dough into 1-inch balls (about 1 tablespoon each, roughly 48), roll each ball in the sugar, and arrange them 2 inches apart on the prepared baking sheets.
- Bake for 8–10 minutes, until the edges are set and the tops are lightly cracked and golden. The centers will still look slightly soft.
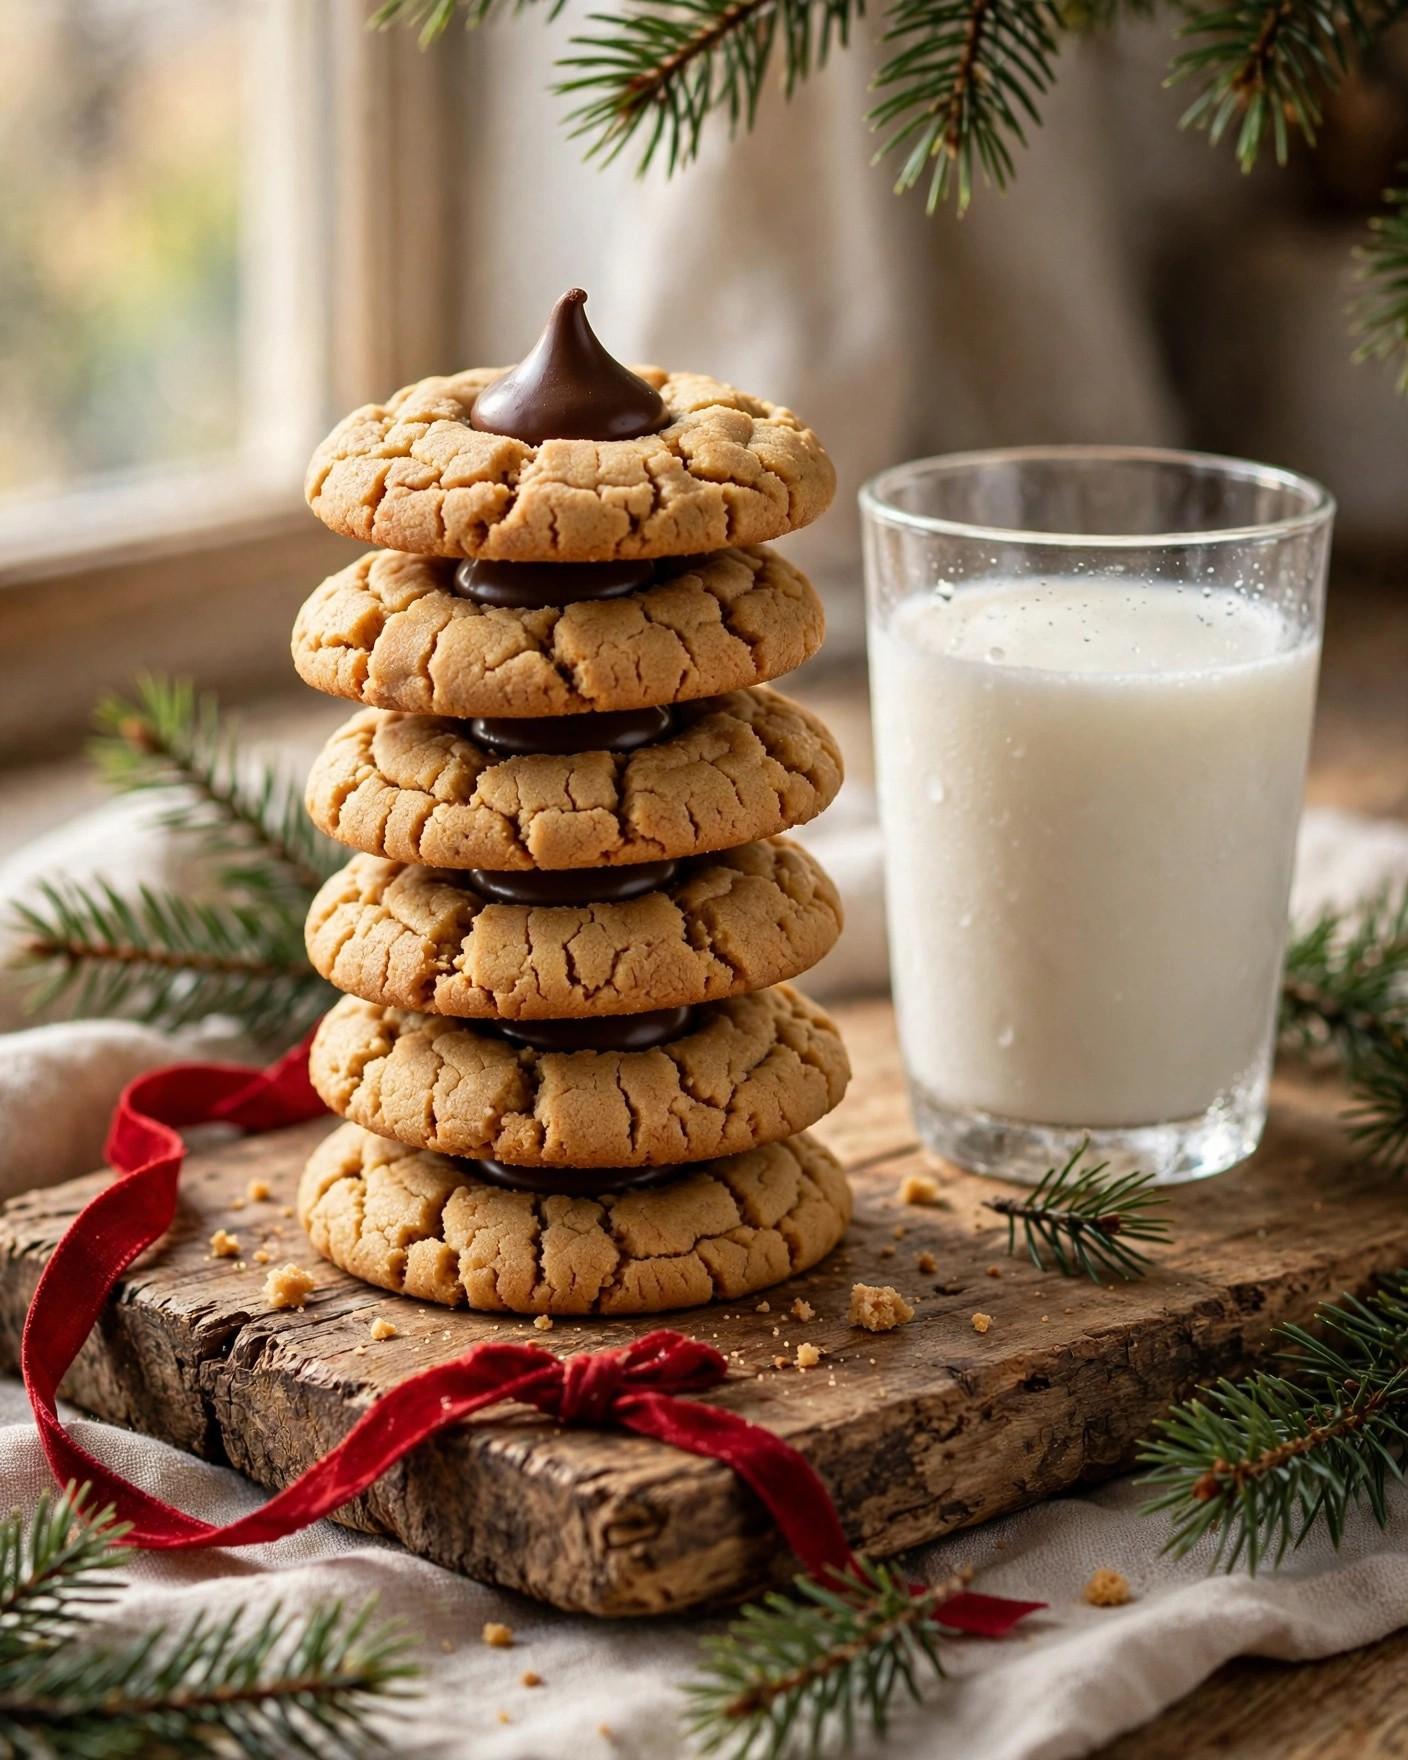
- Remove the sheets from the oven. Working quickly, press one unwrapped chocolate kiss into the center of each cookie, pushing it gently into the warm dough until it sits snugly. The cookies will crack a little around the kiss — that's the classic look.
- Cool the cookies on the baking sheets for 5 minutes, then transfer to a wire rack. Let the chocolate cool completely (about 1 hour) before stacking or packing, so the kisses keep their shape.

Tips for Success
- Use regular creamy peanut butter. Natural-style peanut butter separates and makes the dough oily and crumbly; a standard creamy brand gives the classic soft, sturdy texture.
- Unwrap the kisses before you start. The cookies come out of the oven hot and the kisses need to go in immediately — stopping to unwrap candies costs the crucial seconds.
- Press the kisses in right away. The chocolate bonds with the warm cookie only in the first minute or two. Wait too long and the kiss sits on top instead of sinking in.
- Don't overbake. Pull the cookies at 8–10 minutes when they still look slightly soft in the center. They finish setting on the pan, and overbaked blossoms turn dry and sandy.
- Keep the kisses away from heat after pressing. Don't return the sheets to the oven — the kisses soften at room temperature and firm back up within an hour with their shape intact.
- Let the chocolate set before stacking. Give the cookies a full hour at room temperature before layering them for gift boxes, or the kisses will smudge and lose their points.
Variations
- Dark chocolate blossoms: swap the milk chocolate kisses for dark chocolate kiss candies for a deeper, less sweet center.
- Peanut butter cup version: press a mini peanut butter cup (foil removed) into each cookie instead of a kiss for a double-peanut-butter twist.
- Striped kiss blossoms: use hugs or striped mint-chocolate kisses for a festive red-and-white or white-and-dark pattern.
- Chocolate-peanut butter: add 1/4 cup (20 g) unsweetened cocoa powder to the dry ingredients and reduce the flour to 1 1/4 cups (155 g) for a chocolatey cookie base.
- Crunchy peanut butter: swap the creamy peanut butter for crunchy to add little peanut bits and extra texture throughout.
- Holiday sparkle: roll the dough balls in red and green colored sugar instead of plain granulated sugar for a Christmas-ready finish.
Storage
Store cooled peanut butter blossoms in an airtight container at room temperature for up to 5 days, with parchment paper between layers so the chocolate kisses don't smudge or stick together. The unbaked dough balls (before rolling in sugar) can be refrigerated for up to 48 hours or frozen for up to 3 months — thaw refrigerated dough for 20 minutes before rolling in sugar and baking. Baked cookies also freeze well for up to 3 months in a single layer; thaw at room temperature and let the kisses firm back up before serving.
FAQ
Why do my peanut butter blossoms spread too much and go flat?
Flat blossoms usually come from butter that was too soft or melted, or from a warm kitchen. Use butter that's just soft enough to dent with a finger (not shiny or greasy), and if the dough feels very soft, chill the scooped balls for 15 minutes before rolling in sugar and baking.
When exactly do I press the kisses into the cookies?
The moment the baking sheets come out of the oven. Press each kiss into the center of a warm cookie within the first minute or two, while the cookie is still soft — that's what lets the chocolate settle into the center and crack the top in the classic way.
Can I freeze the dough and bake later?
Yes. Roll the dough into 1-inch balls, freeze them on a tray until solid, then transfer to a freezer bag for up to 3 months. Bake straight from frozen after rolling in sugar, adding 1–2 minutes to the bake time, and press the kisses in right after baking.
Why do my kisses lose their shape or melt into blobs?
That happens when the cookies (or the kitchen) are too hot when the kisses go in, or when the cookies go back into the oven. Press the kisses in right after baking — not during — and let the cookies cool at room temperature; the kisses soften slightly and firm back up within an hour.
Recipe Card
- Prep time: 20 minutes
- Cook time: 10 minutes
- Total time: 30 minutes
- Servings: 48 cookies
- Estimated calories per serving: ~110

Hi, I’m Emma! I’m the cook and recipe developer behind Sizzle & Sage. From my sunny home kitchen, I share easy, flavor-packed recipes for real life — quick breakfasts, cozy weeknight dinners, and simple bakes anyone can make. Pull up a chair and stay a while!


