Chocolate-Covered Caramel Apple Slices (Easy Fall Treat)
These chocolate-covered caramel apple slices deliver all the joy of a caramel apple with a fraction of the fuss. Crisp apple rounds go on sticks, get dipped in dark chocolate, and get finished with a caramel drizzle and whatever toppings you like — no baking, no candy thermometer.
They taste like a cross between a fairground caramel apple and chocolate bark: sweet, crunchy, and fun to eat. Slices are easier to make (and easier to bite into) than whole caramel apples, which makes them perfect for parties, potlucks, and cozy fall weekends.
Best of all, everyone can decorate their own — set out sprinkles, nuts, mini marshmallows, and shredded coconut and let the tray become a dessert activity.
Why You’ll Love This Recipe
- No baking, no candy thermometer — just melt, dip, drizzle, and chill
- Easier than whole caramel apples — slices are simple to coat and easy to bite
- Kid-friendly decorating — sprinkles, marshmallows, and nuts make it a fun activity
- Party-ready — makes 8–10 slices, ideal for gatherings and potlucks
- Fully customizable — dark, white, or salted caramel versions all work
Ingredients
- 2 medium apples, crisp and firm (Honeycrisp or Granny Smith work well)
- 8–10 lollipop sticks or popsicle sticks (food-safe)
- 6 oz dark chocolate, chopped or chips (about 1 cup / 170 g)
- 1/4 cup caramel sauce, store-bought or homemade (60 ml)
- Toppings of your choice: sprinkles, mini marshmallows, crushed nuts, shredded coconut, candy pieces

Instructions
- Line a baking sheet with parchment paper.
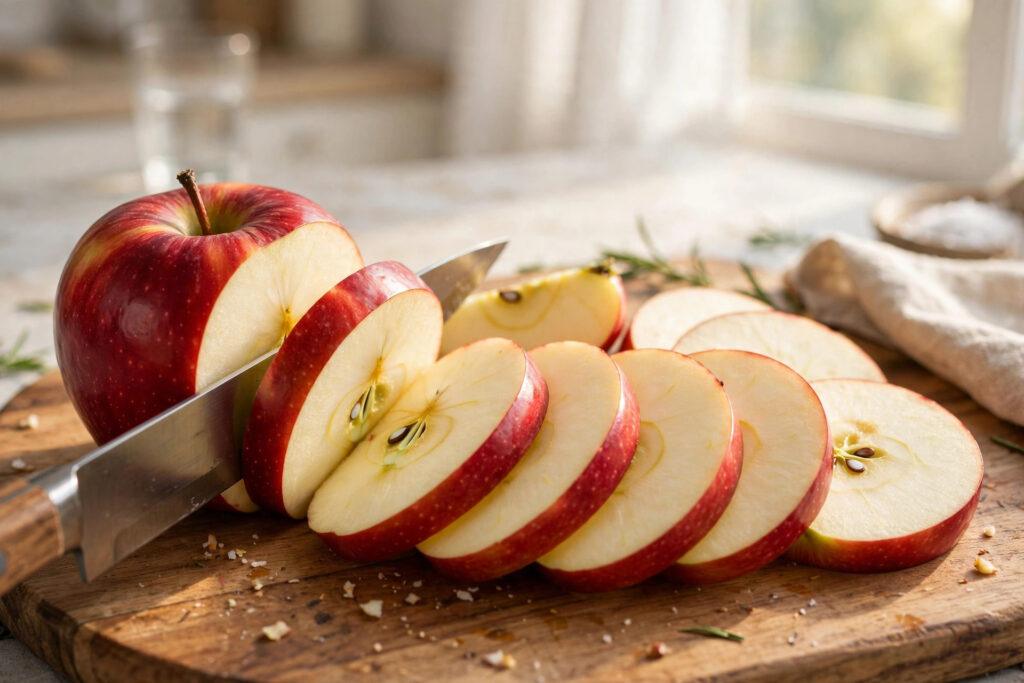
- Peel the apples (optional), remove the seeds, and cut into thick rounds — about the width of an index finger.
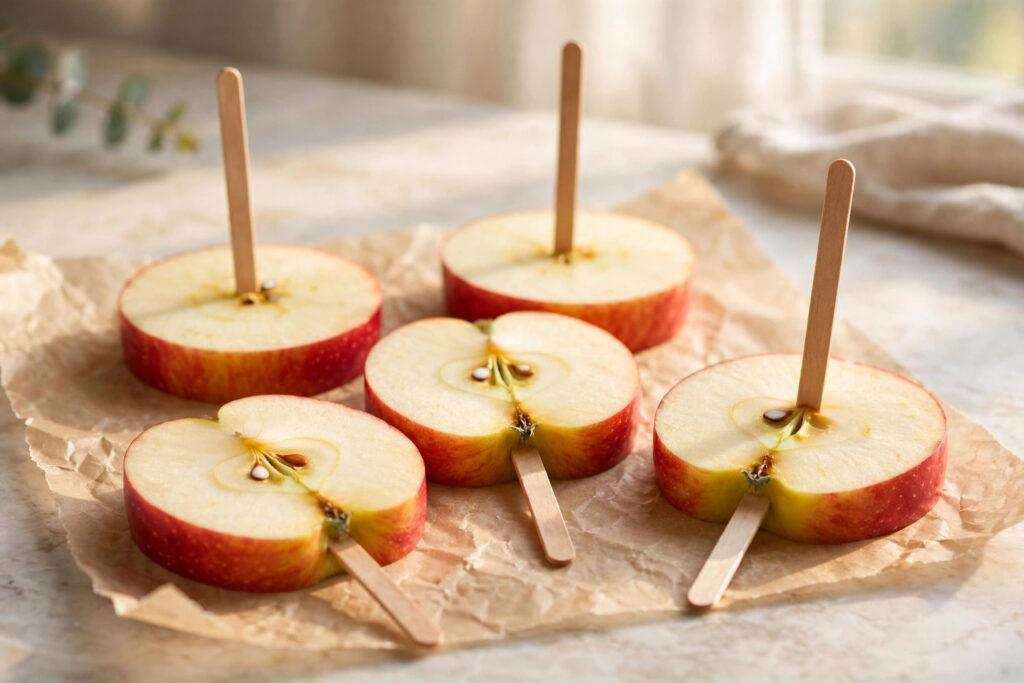
- Gently press a lollipop stick into each slice and pat the slices completely dry with paper towels.
- Melt the dark chocolate in a heatproof bowl over gently simmering water (double boiler), stirring until smooth and glossy. A microwave in 20–30 second bursts, stirring between each, also works.
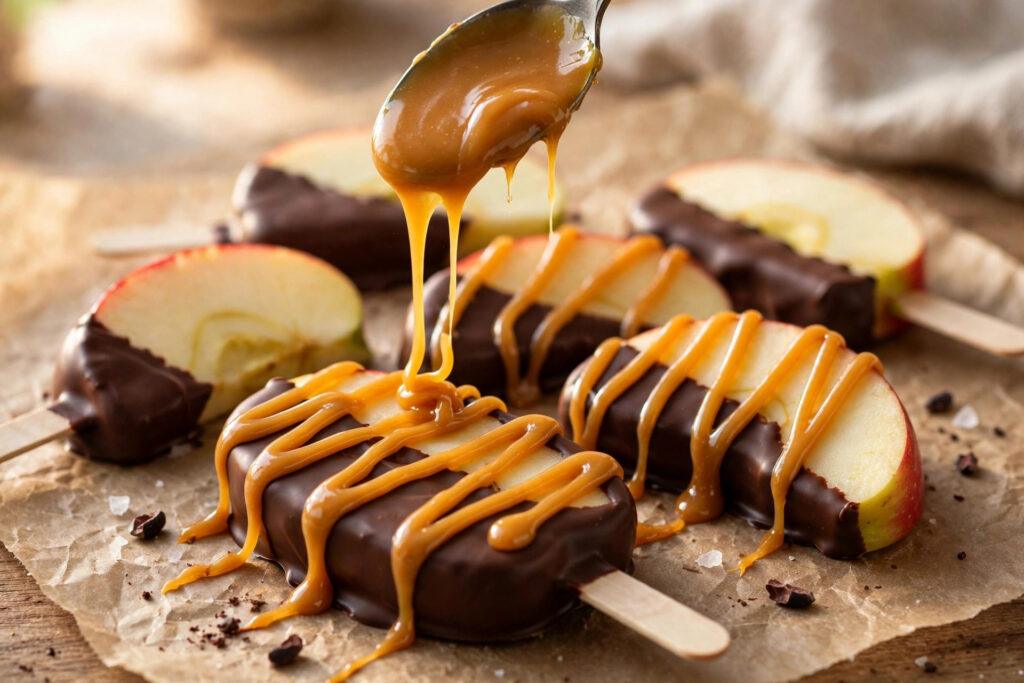
- Dip each apple slice into the melted chocolate, letting the excess drip off for an even coat. Set on the lined tray and let the chocolate set — about 20–40 minutes at room temperature, or 10 minutes in the fridge.
- Warm the caramel sauce gently until just pourable (not hot — hot caramel will melt the chocolate). Zigzag it over each slice with a spoon.
- While the caramel is still warm, sprinkle on your toppings. Let everything set for a few minutes until the caramel firms, then serve.


Tips for Success
- Pat the apples completely dry. Any moisture makes the chocolate slide right off the slices.
- Cut thick slices. Thin slices break when the stick goes in; sturdy rounds hold up to dipping.
- Do not overheat the caramel. Warm and pourable is the goal — too hot and it melts the chocolate underneath.
- Add toppings immediately. Sprinkle while the caramel is warm so everything sticks.
- Serve the same day. These keep their crunch best when made fresh; refrigerate only up to 24 hours in a single layer.
Variations
- Caramel only: skip the chocolate and dip the slices straight into warm caramel for the classic fair-style version.
- White chocolate: swap dark chocolate for white for a pretty contrast with the caramel drizzle.
- Salted caramel twist: add a pinch of flaky sea salt over the warm caramel before it sets.
- Cinnamon crunch: stir a tiny pinch of cinnamon into the melted chocolate or dust it over the caramel.
Storage
These are best enjoyed the day they are made. If needed, store in a single layer in the refrigerator for up to 24 hours — longer and the apples soften and lose their crunch. Do not freeze; thawing releases too much moisture and ruins the texture.
FAQ
Can I use any type of apple? Firm, crisp varieties like Honeycrisp, Granny Smith, or Fuji work best. Softer apples release moisture and make the chocolate slide off.
Do I need to peel the apples first? It is optional. Peeling gives a smoother bite and cleaner look; leaving the skin on adds crunch and color contrast.
Why is my chocolate not sticking? The slices were likely too moist. Pat each slice completely dry with paper towels before dipping.
Can I make these ahead of time? Make them the day you plan to serve them, or at most the night before, stored in a single layer in the fridge.
Recipe Card
- Prep time: 20 minutes
- Set time: 20 minutes
- Total time: 40 minutes
- Servings: 8–10 slices
- Estimated calories per serving: ~180 per slice

You May Also Like

Hi, I’m Emma! I’m the cook and recipe developer behind Sizzle & Sage. From my sunny home kitchen, I share easy, flavor-packed recipes for real life — quick breakfasts, cozy weeknight dinners, and simple bakes anyone can make. Pull up a chair and stay a while!